Image cropping is a vital skill for anyone involved in crafts. Whether you’re creating greeting cards, scrapbooking, or designing custom artwork, knowing how to crop images effectively can significantly enhance your projects. Cropping allows you to focus on the most important parts of an image, remove distractions, and adjust the overall composition.
Here are a few reasons why cropping is important:
- Improved Composition: Cropping helps you emphasize the focal point of your craft, guiding the viewer's eye.
- Better Fit: Adjust images to fit within your project's dimensions, whether for print or digital use.
- Enhanced Visual Appeal: A well-cropped image can make your crafts look more professional and polished.
- Creativity: Cropping gives you the freedom to experiment with different layouts and styles.
Choosing the Right Tools for Cropping Images
With so many tools available, picking the right one for cropping images can seem daunting. But don’t worry; it’s easier than it sounds! Here’s a breakdown of some popular options:
- Online Tools: Websites like Canva and Pixlr offer user-friendly interfaces and powerful cropping features without needing to install software.
- Mobile Apps: Apps such as Snapseed and Adobe Photoshop Express provide great cropping functionalities on the go.
- Desktop Software: Programs like Adobe Photoshop and GIMP allow for more advanced editing options, including cropping.
Consider your needs, budget, and the complexity of your projects when selecting a tool. Each option has its unique features that can enhance your crafting experience.
Also Read This: Understanding Alamycom A Beginner’s Guide to the Stock Photo Platform
Steps to Crop an Image Using Online Tools
Ready to crop an image online? Here’s a step-by-step guide to help you through the process:
- Choose Your Tool: Visit a user-friendly online image editor, like Canva or Pixlr.
- Upload Your Image: Click on the upload button and select the image you want to crop.
- Select the Crop Tool: Look for the crop option, usually found in the toolbar.
- Adjust the Crop Area: Drag the corners or edges of the cropping box to frame the desired part of your image.
- Preview Your Crop: Check how the cropped image will look and make adjustments if necessary.
- Save Your Image: Once satisfied, save the cropped image to your device.
Following these steps can make your cropping experience smooth and enjoyable, allowing you to focus on bringing your creative visions to life.
Also Read This: how to download adobe stock vector for free
How to Crop Images Using Software on Your Computer
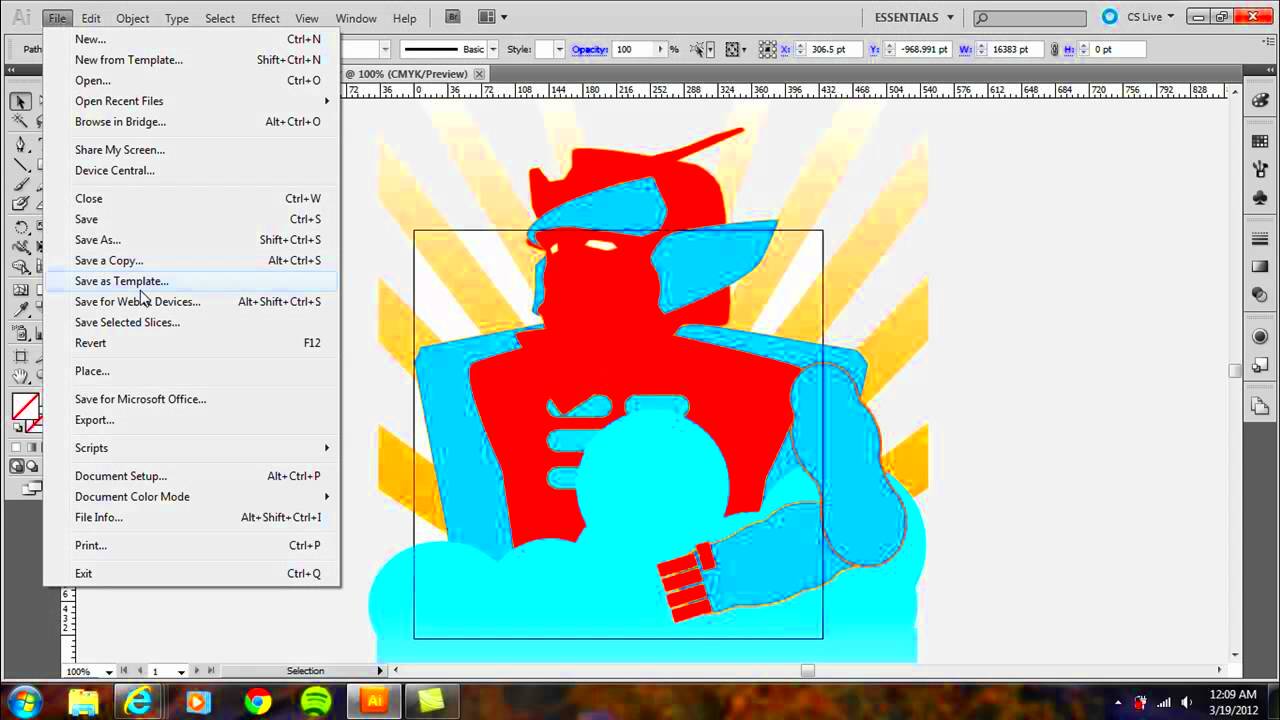
Cropping images on your computer is a straightforward process, especially if you have the right software. Programs like Adobe Photoshop, GIMP, and Microsoft Paint offer various tools to help you crop images effectively. Here’s how to do it step by step:
- Open the Software: Launch the image editing software you prefer on your computer.
- Import Your Image: Use the “File” menu to open the image you want to crop.
- Select the Crop Tool: Look for a crop icon, which usually looks like two overlapping right angles.
- Adjust the Crop Box: Click and drag to create a box around the area you want to keep. You can adjust the edges to refine your selection.
- Apply the Crop: Once you’re satisfied with the selection, click the “Crop” button or press Enter to finalize the changes.
- Save Your Image: Finally, save the cropped image by going to “File” and then “Save As” to keep your original image intact.
With practice, you’ll find that cropping images using software can enhance your craft projects, giving them a professional touch while allowing you to express your creativity.
Also Read This: How to Resize an Image for Email Attachments
Tips for Cropping Images Specifically for Crafts
When it comes to crafting, cropping images isn't just about cutting out parts of a picture. It's about enhancing the overall design and making sure the final product looks its best. Here are some tips to keep in mind:
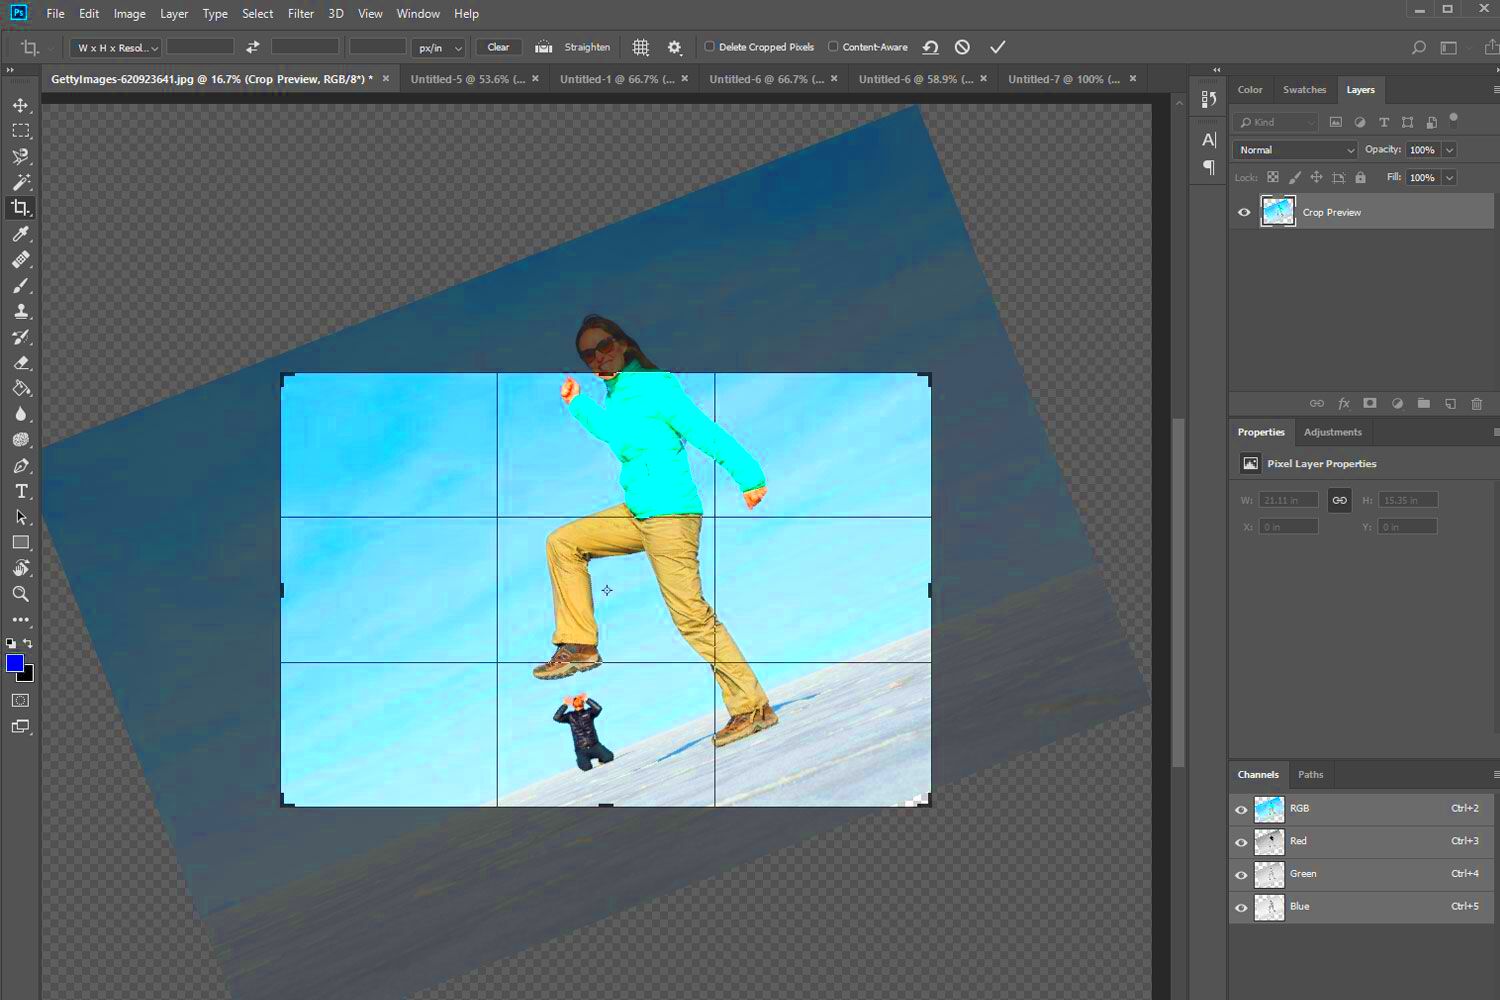
- Consider Composition: Follow the rule of thirds. Imagine dividing your image into three sections both horizontally and vertically. Place important elements along these lines or at their intersections.
- Focus on Details: If you’re using images with intricate designs, crop closely to highlight these details, making them stand out in your craft.
- Maintain Aspect Ratios: When cropping for specific projects, keep the final size in mind. Make sure your cropped image fits well within the space you'll use it.
- Experiment: Don’t be afraid to try different cropping styles. Sometimes an unconventional crop can lead to exciting results!
- Use Borders: If your cropped image feels too small or out of place, consider adding a border to give it more prominence in your craft.
By following these tips, you’ll enhance your crafting projects and add a personal touch that showcases your creativity.
Also Read This: Strategies to Increase Your YouTube Shorts Views and Engagement
Common Mistakes to Avoid When Cropping Images
Cropping images can be a simple task, but there are common pitfalls that can affect the quality of your final product. Here are some mistakes to avoid:
- Over-Cropping: It’s tempting to crop out everything that seems unnecessary, but removing too much can make your image lose context or become unrecognizable.
- Ignoring Resolution: Always check the resolution before cropping. A low-resolution image can look pixelated when enlarged, so maintain quality by keeping your original image size in mind.
- Neglecting Background: Sometimes, the background can add context to your image. Avoid cropping it out completely unless it detracts from the subject.
- Forgetting to Save Originals: Always save a copy of the original image. This way, if the crop doesn’t turn out as expected, you have the original to work with.
- Not Reviewing Changes: Before finalizing your crop, take a moment to preview the changes. This step can help you catch any mistakes before saving.
Avoiding these common mistakes will not only improve your crafting but also boost your confidence in handling images. Happy cropping!
Also Read This: What Resolution Should You Use for YouTube Shorts Optimizing Your Videos
How to Save and Use Cropped Images for Craft Projects
After you've successfully cropped your images, the next step is knowing how to save and use them in your craft projects. Properly saving your images ensures that you can access them easily later. Here’s how to do it:
- Choose the Right Format: Save your cropped images in formats suitable for your projects. Common formats include JPEG for photographs and PNG for images with transparent backgrounds.
- Use Descriptive Names: When saving your images, use names that describe the content. This makes it easier to find them later. For example, instead of “image1.jpg,” use “birthday-card-design.jpg.”
- Organize Your Files: Create folders on your computer or cloud storage to categorize your images. You might have separate folders for different projects or themes.
- Check Resolution: Ensure that the resolution is appropriate for your craft. For printed projects, aim for at least 300 DPI (dots per inch) for clear images.
- Test in Your Design: Before finalizing your project, insert the cropped images into your design software to see how they fit. Adjust as needed to ensure everything looks good together.
By following these steps, you can seamlessly integrate your cropped images into your craft projects, enhancing their overall appeal.
Also Read This: how to round image corners in google slides
Frequently Asked Questions
As you dive into cropping images for your crafts, you may have some questions. Here are some common queries along with their answers:
- What software is best for cropping images?
- It depends on your needs. Adobe Photoshop offers advanced features, while tools like Canva and Pixlr are great for simple cropping tasks.
- Can I crop images on my phone?
- Absolutely! Many apps like Snapseed and Adobe Photoshop Express allow you to crop images directly on your mobile device.
- How do I know if my image is high enough quality?
- Check the resolution. A minimum of 300 DPI is recommended for print projects to ensure clarity and detail.
- Is it okay to crop images I find online?
- It depends on the image's copyright status. Always check the licensing and use images that are free for personal use or available under a Creative Commons license.
- What is the best way to save cropped images?
- Save in formats like JPEG or PNG, and use descriptive file names to keep your images organized and easy to find.
Conclusion and Final Thoughts on Cropping Images for Crafts
Cropping images is an essential skill that can significantly enhance your crafting projects. By focusing on the important elements of your images, you can create more visually appealing and professional-looking crafts. Remember to choose the right tools, avoid common mistakes, and save your cropped images thoughtfully.
With practice, you’ll become more comfortable with the cropping process, allowing your creativity to shine through in your work. So, gather your images, get creative, and let your crafts take on a whole new life with beautifully cropped visuals!
 admin
admin


