When it comes to presentations, the way you present your images can make a huge difference. Image orientation is not just about how an image looks; it affects how your audience perceives your message. An
Here are some key reasons why image orientation matters:
- Clarity: Proper orientation ensures that your audience can easily interpret the image.
- Professionalism: Well-presented images create a polished look for your presentation.
- Engagement: Images that are easy to view can keep your audience’s attention longer.
- Consistency: A uniform look in your images contributes to a cohesive presentation style.
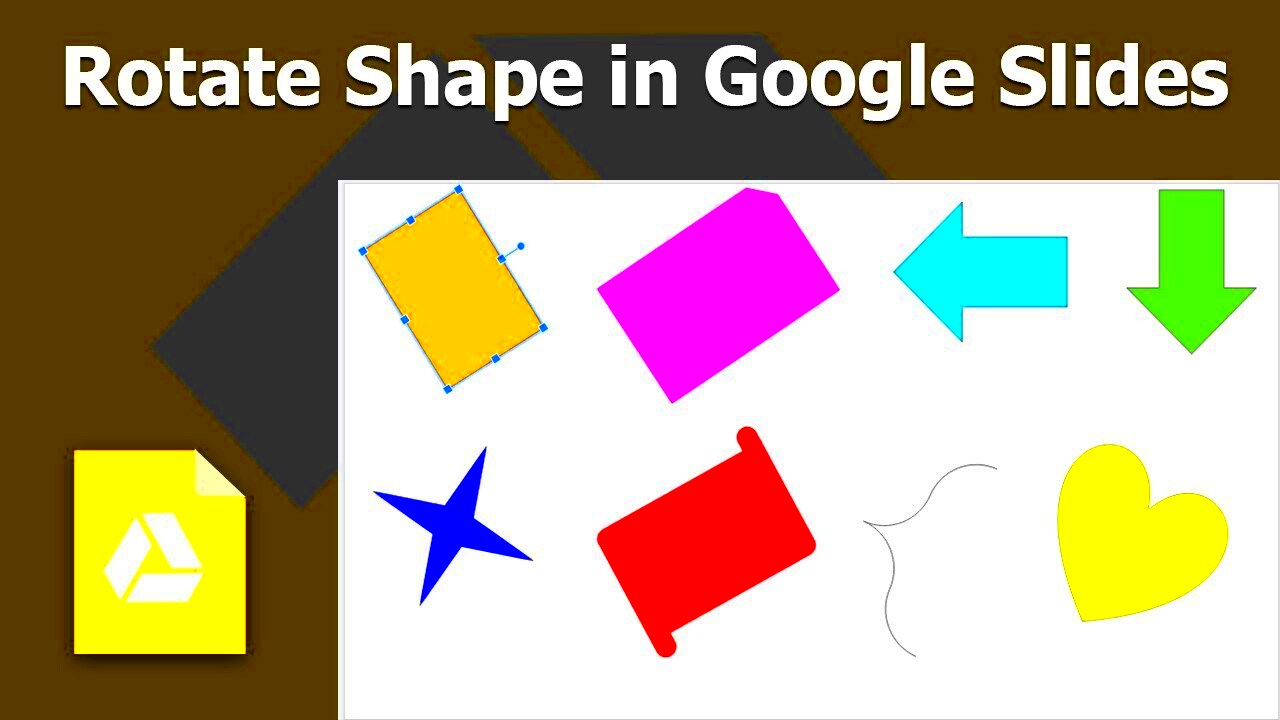
How to Rotate an Image Using Online Tools
Rotating an image has never been easier thanks to a variety of online tools available today. These tools allow you to make adjustments quickly without the need for any software downloads. Here’s how you can do it:
- Select an Online Tool: Choose a user-friendly online image editor, such as Canva, Fotor, or Pixlr.
- Upload Your Image: Click on the upload button and select the image you want to rotate from your device.
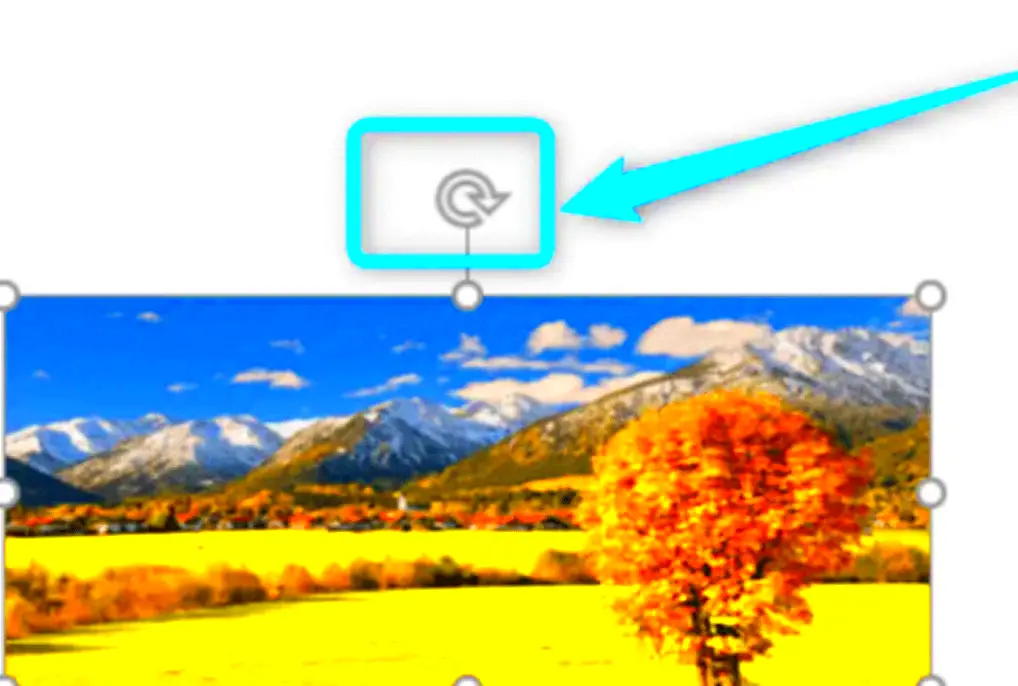
- Rotate the Image: Look for a rotate option, often represented by a circular arrow. Click it to turn your image to the desired angle.
- Download the Edited Image: Once you’re satisfied with the rotation, save the edited image back to your device.
Using online tools for image rotation is quick, simple, and effective, making it a perfect solution for anyone looking to enhance their presentations.
Also Read This: How to Cancel Adobe Stock Subscription: A Step-by-Step Guide
Steps to Flip an Image for Better Presentation
Flipping an image can create a dynamic effect that enhances your presentation. Whether you want to flip an image horizontally or vertically, the process is straightforward. Here’s a step-by-step guide:
- Open an Image Editing Tool: You can use online tools like Adobe Express or offline software like Photoshop.
- Upload the Image: Import the image you want to flip.
- Select the Flip Option: Look for the flip tool in the editing menu. Choose either horizontal or vertical flip based on your need.
- Preview the Changes: Always preview the flipped image to ensure it meets your expectations.
- Save Your Image: Once you are happy with the flipped image, save it for your presentation.
Flipping images can add a fresh perspective and help emphasize key points in your presentation. Just be sure to use this technique wisely, as overdoing it might confuse your audience.
Also Read This: how to remove image from pdf
Using Software to Rotate and Flip Images
If you prefer using software installed on your computer to rotate and flip images, there are many options available. Programs like Adobe Photoshop, GIMP, and even simpler tools like Microsoft Paint offer features that allow you to manipulate your images easily. Using software can give you more control over the image quality and make it easier to perform multiple edits in one go.
Here’s how to rotate and flip images using popular software:
- Open the Software: Start by launching your preferred image editing software.
- Import Your Image: Use the “Open” or “Import” function to bring your image into the workspace.
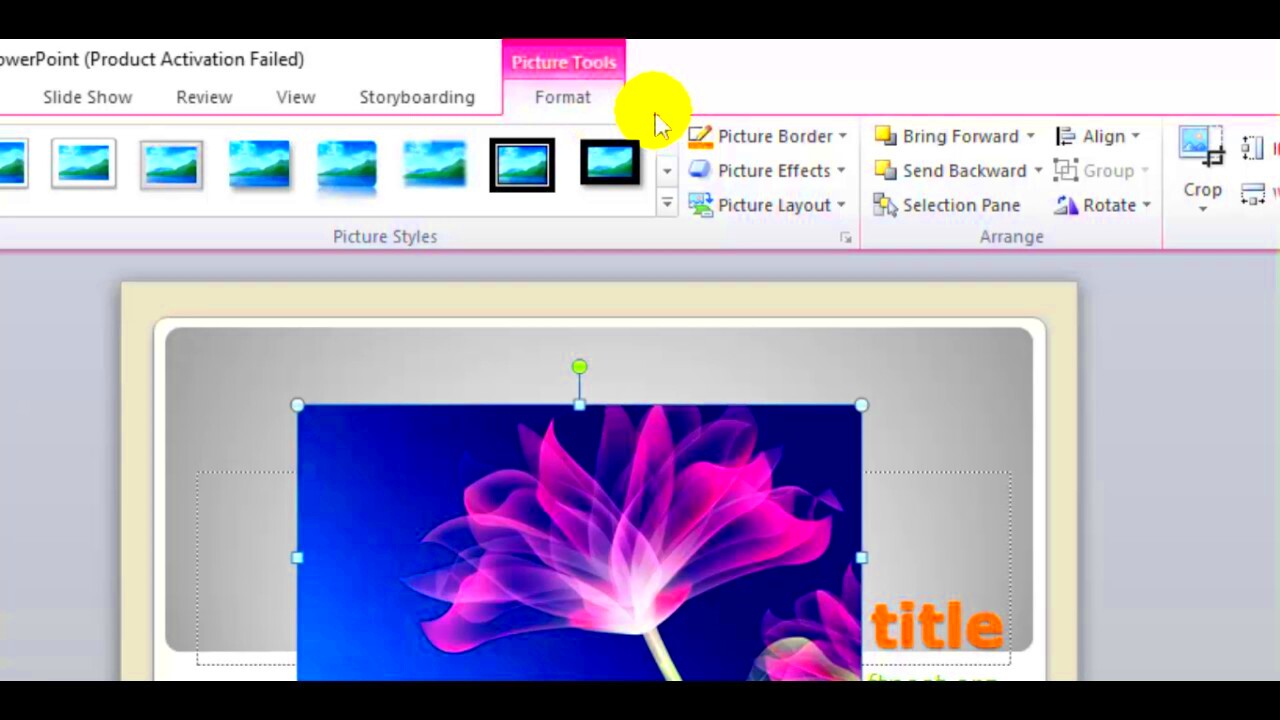
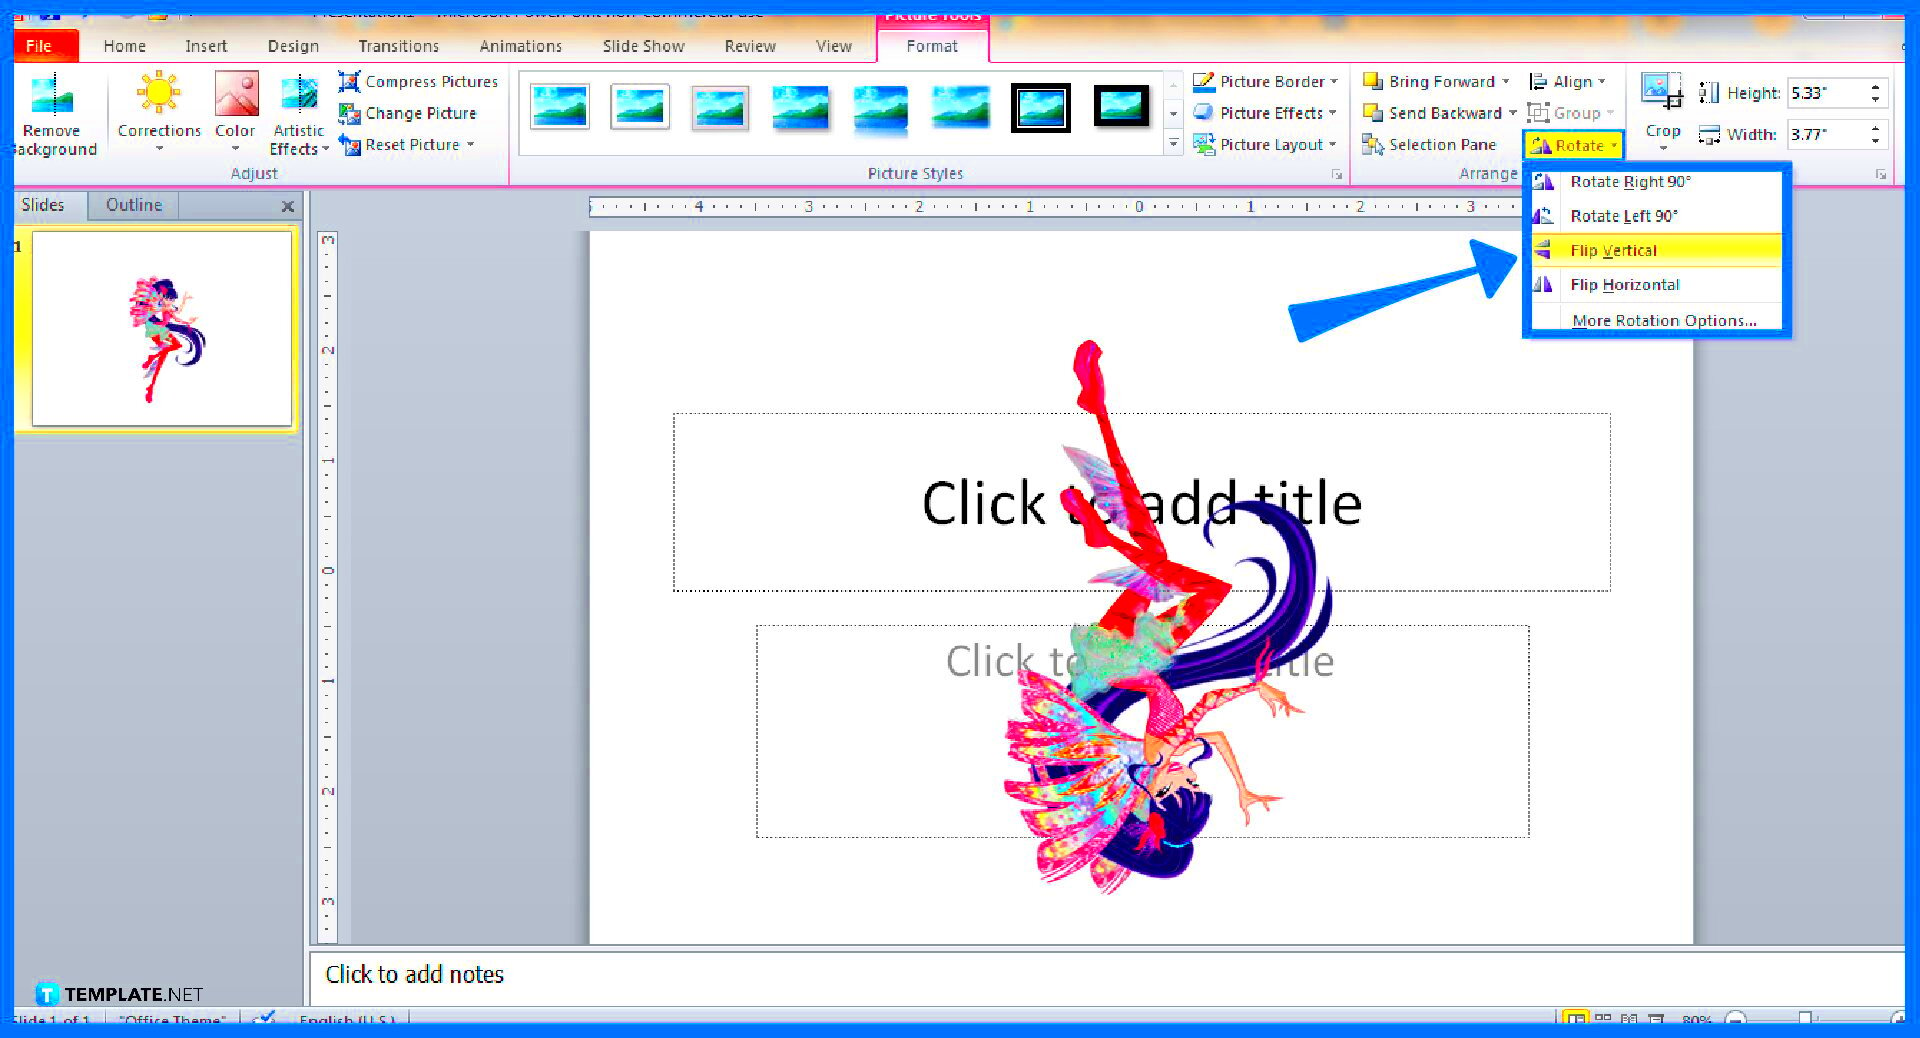
- Locate the Rotate and Flip Tools: Typically, these tools can be found under the “Edit” menu or in a toolbar. Icons may vary, but look for arrows or a mirror image symbol.
- Rotate or Flip the Image: Select the appropriate option (rotate left, rotate right, flip horizontally, or flip vertically) based on your needs.
- Preview and Save: Before finalizing, preview your edits to ensure they look good, then save your image in the desired format.
Using software gives you more flexibility and can be particularly beneficial for high-resolution images. Take some time to explore the different features available to enhance your presentation further.
Also Read This: Enlarging Images Without Losing Quality
Best Practices for Image Rotation and Flipping
When it comes to rotating and flipping images, following best practices can make a significant difference in how your presentation comes across. Here are some tips to keep in mind:
- Maintain Aspect Ratio: Always try to keep the aspect ratio of your images consistent to avoid distortion.
- Use High-Quality Images: Start with high-resolution images to ensure that the final result remains clear and professional.
- Be Mindful of Context: Consider how the rotation or flipping might affect the viewer's understanding of the image.
- Limit Edits: Too much manipulation can lead to confusion. Use rotation and flipping sparingly.
- Test Your Edits: Show your edited images to others to gauge their reactions before finalizing your presentation.
Implementing these best practices can help you create a more polished and effective presentation that captures your audience's attention.
Also Read This: How to Shoot Photos for Getty Images and Get Noticed
How to Choose the Right Orientation for Your Presentation
Choosing the right orientation for images in your presentation is crucial for maintaining audience engagement and effectively conveying your message. The orientation can influence how an image is perceived and understood, so it's essential to consider a few key factors when making your decision.
Here’s how to determine the best orientation for your images:
- Consider the Subject Matter: Some images naturally lend themselves to certain orientations. For example, landscapes typically look better in a horizontal format, while portraits may be more effective in vertical orientation.
- Think About the Presentation Flow: Ensure that the orientation aligns with the flow of your presentation. Consistency in orientation can create a more cohesive experience.
- Audience Engagement: Think about what will keep your audience engaged. Sometimes, a well-placed rotated image can capture attention better than a standard one.
- Test Different Orientations: Don’t hesitate to experiment with different orientations during the preparation stage to see what works best visually.
By taking the time to choose the right orientation, you can enhance the clarity and impact of your presentation, making it more enjoyable and informative for your audience.
Also Read This: How to Download a Comics in Bilibili Comics – Easy Way
Common Issues When Rotating or Flipping Images
While rotating or flipping images can significantly enhance your presentations, it can also come with its own set of challenges. Understanding these common issues can help you troubleshoot effectively and create a more polished final product.
Here are some frequent problems you might encounter:
- Image Distortion: Sometimes, rotating or flipping an image can lead to distortion, especially if the aspect ratio is not maintained. Always check the final look to ensure it hasn’t been skewed.
- Loss of Quality: Repeatedly rotating or flipping an image can result in a loss of quality. Try to make edits in one go to minimize this risk.
- Incorrect Orientation: After flipping an image, you might find it doesn't align well with your text or other elements in your presentation. Be sure to check the orientation after each edit.
- File Format Issues: Some file formats do not support certain types of edits. Ensure you're working with a format that maintains the quality of the image.
- Inconsistent Styles: Mixing rotated and non-rotated images can disrupt the visual flow of your presentation. Aim for consistency in orientation for a smoother experience.
By being aware of these issues, you can take steps to avoid them and enhance the quality of your presentations.
Also Read This: How to Buy a Shutterstock Image from Facebook: A Step-by-Step Guide
Frequently Asked Questions
As you navigate the world of image rotation and flipping, you might have some questions. Here are answers to some common queries that can help guide you through the process:
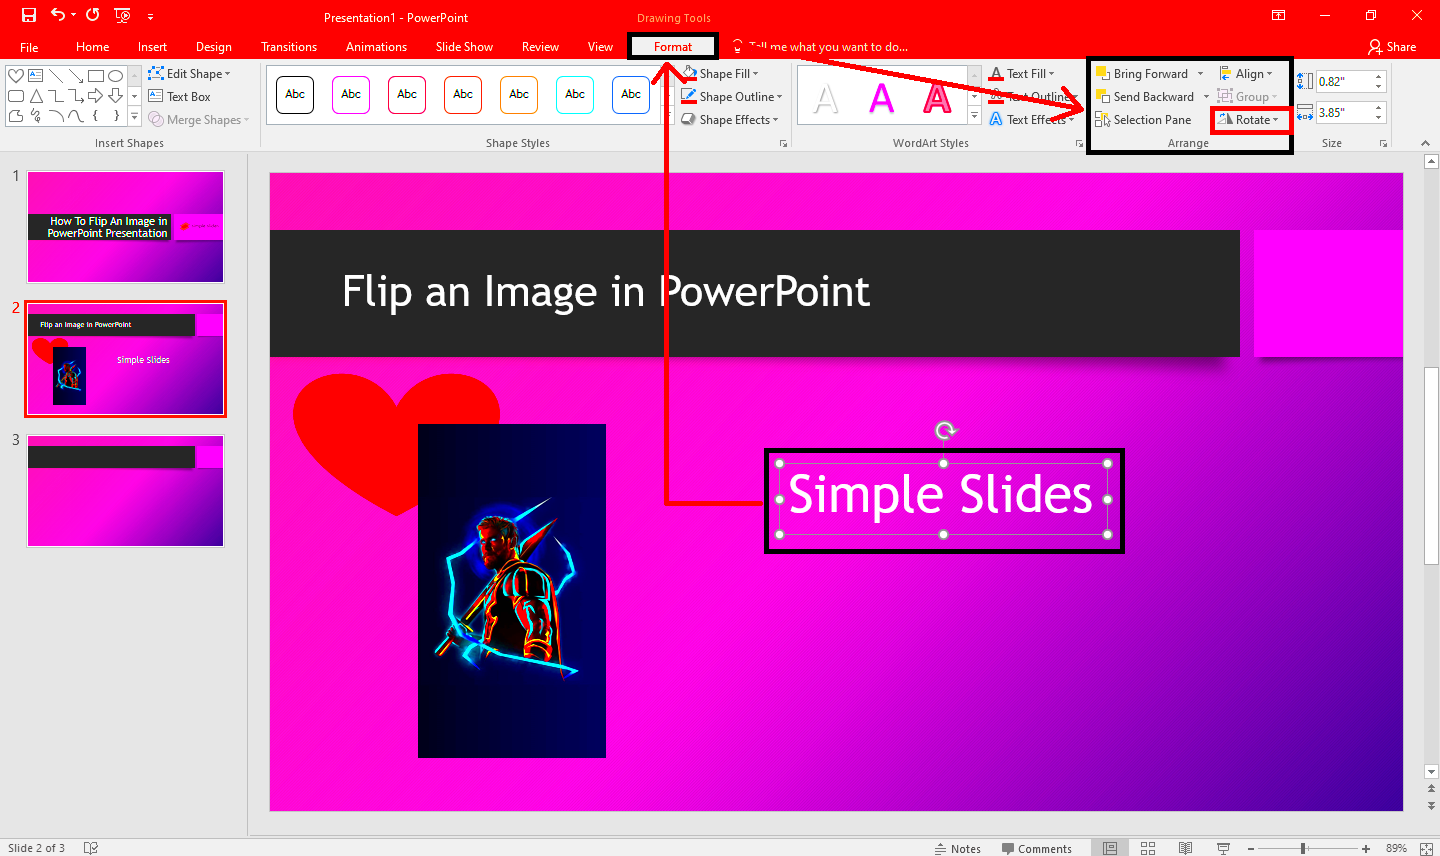
- How do I rotate an image in PowerPoint?
In PowerPoint, select the image, go to the “Format” tab, and use the rotate options found in the “Arrange” group. - Can I rotate an image without losing quality?
Yes, if you use a high-resolution image and make edits in a single session, you can maintain quality. - What formats are best for high-quality images?
Formats like PNG and TIFF are generally better for preserving quality compared to JPEG, which can lose details. - Is there a way to flip an image for free?
Yes, there are several online tools like Canva and Fotor that allow you to flip images without any cost. - What should I do if my image looks distorted after flipping?
Try using the undo option to revert your changes or resize the image while maintaining its aspect ratio.
Conclusion
In conclusion, mastering the art of rotating and flipping images can greatly enhance your presentations. By understanding the importance of image orientation and utilizing the right tools, you can create visuals that effectively communicate your message. Remember to follow best practices, be mindful of common issues, and choose the right orientation to maintain clarity and engagement. With these tips in mind, you're well on your way to creating impressive presentations that captivate your audience.
So, don’t hesitate to experiment with your images. The more you practice, the better you’ll get at making your presentations visually appealing and impactful. Happy presenting!
 admin
admin


