Edible images have become a popular way to add a personal touch to buttercream cakes. They offer an easy and creative way to enhance your cake’s design without the need for advanced decorating skills. Whether you want to celebrate a birthday, wedding, or any special occasion, edible images can help you create a stunning centerpiece. In this guide, we'll explore how to choose the right edible image, prepare your cake, and apply these images to achieve a beautiful finish.
Choosing the Right Edible Image
Choosing the right edible image is crucial for the overall look of your buttercream cake. Here are some factors to consider:
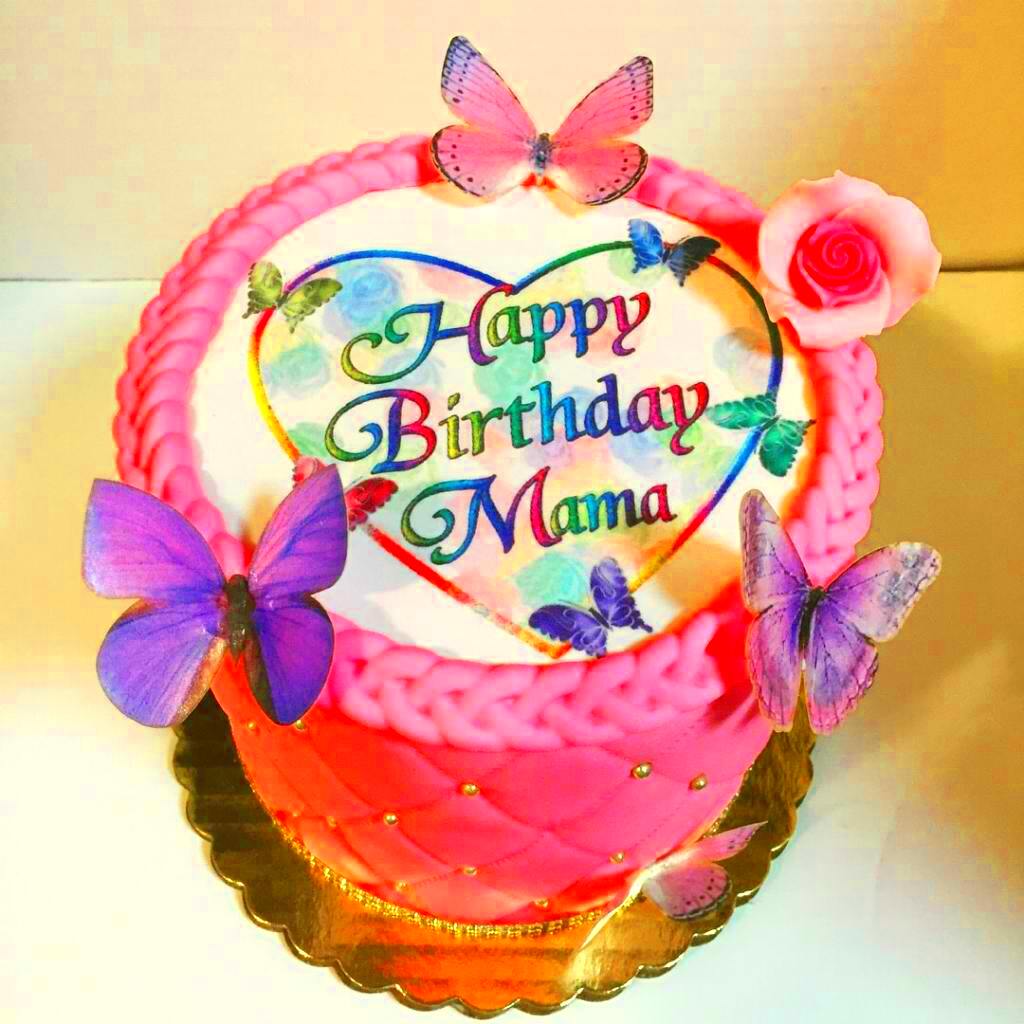
- Theme: Make sure the image matches the occasion. For example, a birthday cake might feature cartoon characters, while a wedding cake could have elegant floral designs.
- Size: Consider the size of your cake when selecting an image. A small cake may only need a small image, while larger cakes can accommodate more intricate designs.
- Color: Vibrant images work well on white or light-colored buttercream, while softer images can blend nicely with darker frostings.
- Quality: Always opt for high-resolution images. This ensures that your cake looks sharp and professional.
Once you have chosen the perfect edible image, it’s time to prepare your cake for application.
Also Read This: How to Upload Voice Memo to YouTube with Ease
Preparing Your Buttercream Cake

Proper preparation is essential to ensure that your edible image adheres well and looks its best. Here’s a step-by-step guide:
- Bake and Cool the Cake: Start with a well-baked cake that has cooled completely. This prevents the buttercream from melting when you apply it.
- Level the Cake: Use a cake leveler or knife to ensure the top of the cake is flat. This helps the image sit evenly on the surface.
- Apply the Crumb Coat: Spread a thin layer of buttercream over the entire cake to lock in crumbs. Chill the cake for about 30 minutes to set the crumb coat.
- Add the Final Coat: Once the crumb coat is set, apply a thicker layer of buttercream. Smooth it out with a spatula or cake scraper for a clean finish.
By preparing your cake properly, you'll create a smooth canvas that allows your edible image to shine.
Also Read This: Complete Makeup Guide to Contouring a Square Face
Printing Edible Images
Printing edible images might sound tricky, but it's easier than you think! You can do this at home or choose a local bakery or printing service. Here’s how to get started:
- Choose Your Printer: Make sure you use an edible ink printer. These printers use food-safe ink made from edible materials.
- Select Your Image: Use a high-quality image file. Make sure it’s at least 300 DPI for crisp details. If you’re using a photo, pick one that’s bright and colorful!
- Get the Right Paper: Purchase edible printing paper, such as frosting sheets or wafer paper. Each type has its own texture and finish, so choose one that suits your design.
- Print with Care: Follow your printer’s instructions carefully. Ensure the printer settings are adjusted for edible ink to avoid any mishaps.
- Let It Dry: After printing, allow the image to dry for about 30 minutes. This helps prevent smudging when you apply it to your cake.
Once your edible image is printed and ready, it’s time to apply it to your beautifully prepared cake!
Also Read This: The Best AI Logo Designer: A Comprehensive Guide
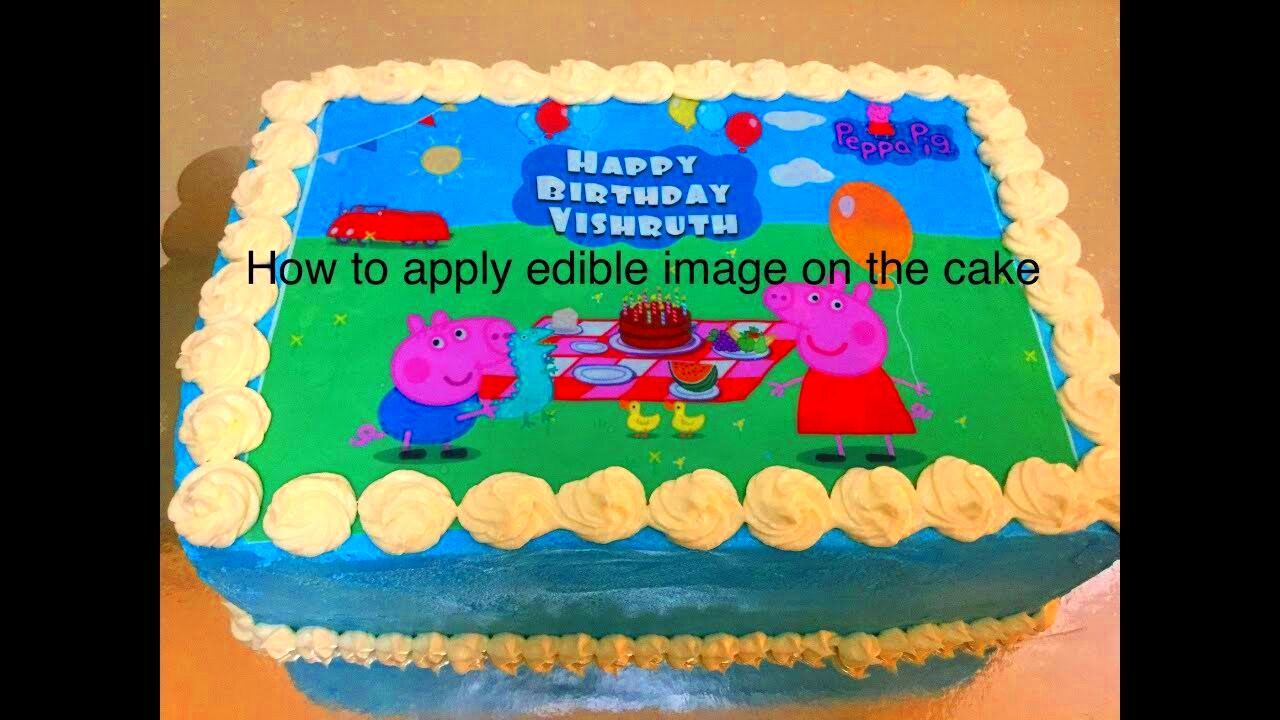
Applying Edible Images to Your Cake
Now comes the fun part—applying your edible image! Here’s a simple step-by-step guide to ensure everything goes smoothly:
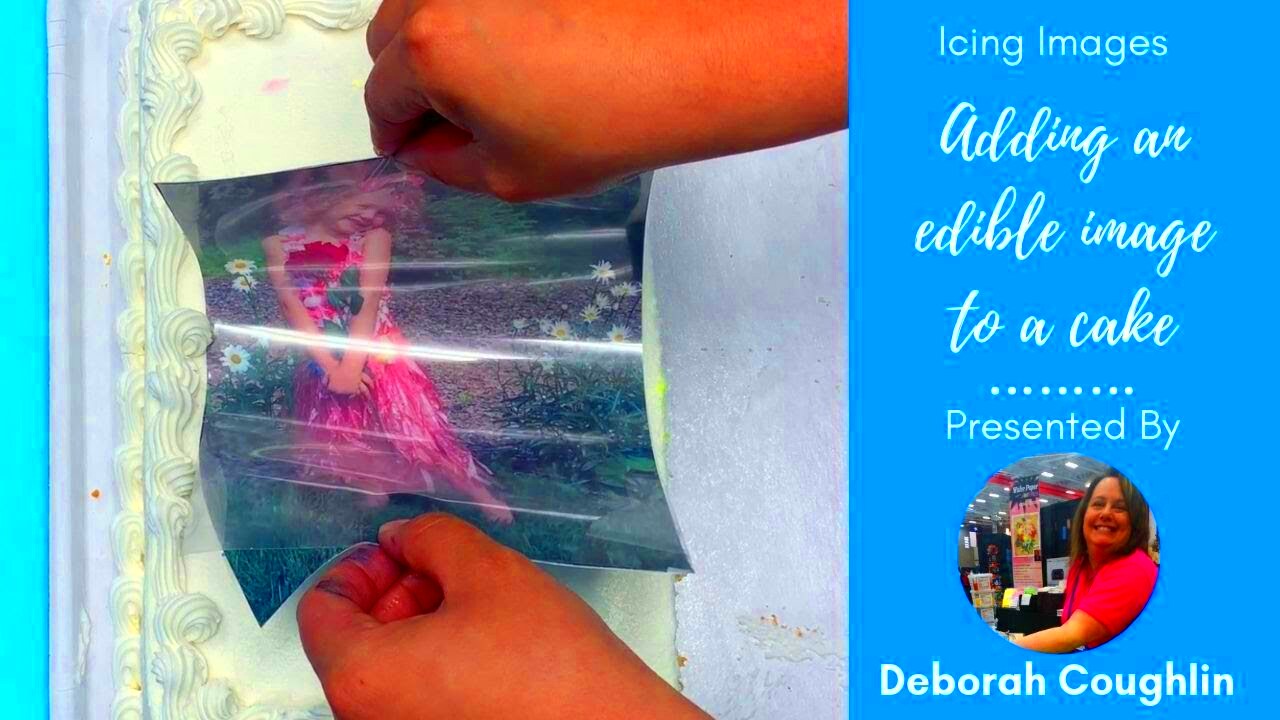
- Prepare Your Workspace: Make sure your cake is on a clean, flat surface. Have your printed edible image, scissors, and a pair of tweezers handy.
- Cut Out the Image: Carefully cut around your edible image, leaving a small border if desired. This gives a nice, finished look.
- Moisten the Surface: Lightly spray or brush a little water or clear alcohol (like vodka) on the buttercream where the image will go. This helps it stick better.
- Place the Image: Gently lift the image using tweezers and place it on the moistened area of the cake. Start from one edge and work your way across to avoid air bubbles.
- Smooth It Out: Use a clean, dry brush or your fingers to smooth the image gently. This helps eliminate any wrinkles or bubbles.
And just like that, your cake is transformed with a stunning edible image!
Also Read This: How to Open a JPEG Image on an iPhone for Easy Viewing
Tips for Achieving a Professional Look
To achieve a cake that looks like it came from a bakery, keep these tips in mind:
- Use Quality Ingredients: High-quality buttercream and edible images make a significant difference. Opt for good brands that you trust.
- Practice Your Buttercream Skills: Smooth, even buttercream is key. Spend some time practicing your application and smoothing techniques.
- Maintain a Clean Workspace: Keep everything tidy to avoid any unwanted marks or debris on your cake.
- Be Patient: Take your time with each step, especially when applying the image. Rushing can lead to mistakes.
- Get Creative: Don’t be afraid to add extra decorations around the image, like sprinkles, flowers, or piped borders. This adds depth and interest!
With these tips, you’ll create a buttercream cake that looks fantastic and tastes just as good. Happy baking!
Also Read This: Playlist Popularity: Boosting Your Spotify Playlist with More Likes
Common Mistakes to Avoid
While using edible images on buttercream cakes can be a fun and creative process, there are some common pitfalls to watch out for. Here’s a list of mistakes you want to avoid:
- Skipping the Drying Time: After printing, many people rush to apply their edible images without letting them dry properly. This can lead to smudging or tears. Always give your images at least 30 minutes to dry.
- Applying to Warm Buttercream: Placing an edible image on warm buttercream can cause it to melt or distort. Ensure your cake is properly chilled before application.
- Ignoring the Size: It’s easy to get carried away and choose an image that’s too big for your cake. Always measure your cake and plan accordingly to avoid any last-minute surprises.
- Using Too Much Moisture: While it’s important to moisten the surface for adhesion, too much liquid can cause the image to run. A light mist or brush is all you need.
- Not Smoothing the Image: Failing to smooth out air bubbles or wrinkles after applying the image can leave it looking unprofessional. Take the time to carefully smooth the surface after placement.
By being aware of these common mistakes, you can ensure your cake turns out beautifully every time!
Also Read This: How to Center a Header Image in HTML
Frequently Asked Questions about Edible Images
Here are some common questions people have about using edible images on buttercream cakes:
| Question | Answer |
|---|---|
| Can I eat the edible image? | Yes! Edible images are made from food-safe materials and are safe to consume. |
| How long can I store a cake with an edible image? | It’s best to consume the cake within a few days for optimal freshness, especially if the image is on buttercream. |
| Can I use regular ink to print edible images? | No, only use edible ink specifically designed for food use to ensure safety. |
| What if my image curls up? | This can happen if the image is not properly moistened. Make sure to lightly spray the back of the image with water before applying it. |
| Can I reuse edible images? | No, once applied, edible images should not be reused. They’re intended for one-time use only. |
Conclusion on Using Edible Images for Buttercream Cakes
Using edible images on buttercream cakes is an enjoyable way to personalize your desserts and make them stand out. With just a bit of practice and attention to detail, you can easily create stunning cakes for any occasion. Remember to choose the right image, prepare your cake properly, and avoid common mistakes. With the tips provided, you’re well on your way to impressing your friends and family with beautiful, customized cakes. So go ahead, unleash your creativity, and enjoy the sweet results!
 admin
admin


