Image selection is one of the most crucial skills you need if you are involved with visuals, whether personally or professionally. It simply involves identifying a section of an image to retain or alter. The process can be used to zoom in on certain elements, create collages and modify images in various formats. If you want to sharpen your editing prowess and unleash your creativity, it is important to know how to select certain sections of photos.
A selection of an image necessitates consideration of certain fundamental factors:
- Selection Types: You can make freehand selections, rectangular or elliptical selections, and even complex selections using tools like lasso or magic wand.
- Feathering: This technique softens the edges of your selection, making it blend more naturally with the surrounding area.
- Layers: Working with layers allows you to isolate parts of an image without permanently altering the original.
These basics allow for the selection of images that are more appropriate in relation to the goals in mind.
Choosing the Right Tool for Image Selection
Not all image editing tools offer the same quality as far as selection is concerned. The choice of the right tool is similar to custom fitting a shoe that makes a huge difference in how you walk. Some examples include:
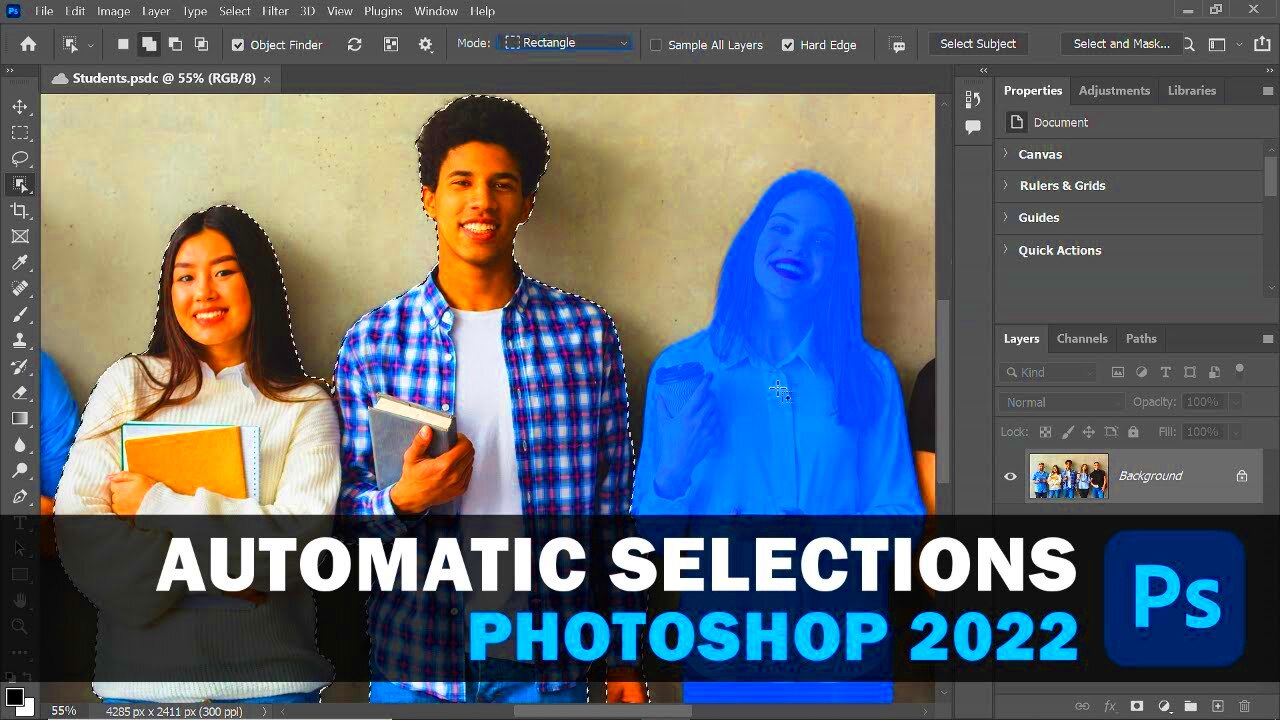
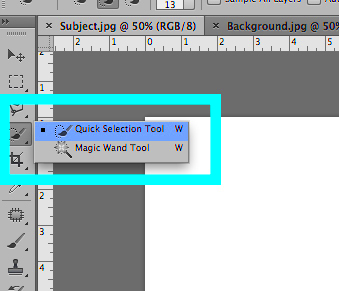
- Adobe Photoshop: This industry-standard software offers a wide range of selection tools, including the quick selection tool and the magnetic lasso.
- GIMP: A free alternative to Photoshop, GIMP provides robust selection options and is great for beginners.
- Canva: While primarily a design tool, Canva offers basic selection features that are user-friendly for quick edits.
There are pros and cons for every single instrument; hence, select an accessory which suits your requirements as well as personal proclivity.
Also Read This: How to Remove Shutterstock Watermark from Video: A Comprehensive Guide
Steps to Select Part of an Image Using Free Range Stock Image Downloader
In order to make free range stock image downloader more effective, one should consider using the following steps:
- Download the Image: Start by downloading the image you want to edit from Free Range Stock.
- Open Your Editing Tool: Open your favorite editing software that allows image selection.
- Select the Selection Tool: Choose the appropriate selection tool based on your needs (lasso, rectangle, etc.).
- Make Your Selection: Click and drag around the area of the image you want to select. Adjust your selection as needed.
- Refine the Edges: Use feathering or smoothing options to refine the edges of your selection for a cleaner look.
- Save Your Work: Once you’re happy with your selection, save it in the desired format.
If you follow these steps, it’s going to be easy and fast for you to select pieces of photos using Free Range Stock Image Downloader.
Also Read This: How Family Guy Jokes Are Created – A Behind-the-Scenes Look on Dailymotion
Common Techniques for Image Selection
There are various Techniques that you can use to select parts of an image depending on your needs and available resources. Each technique has its unique advantages and can be applied in different situations for optimal results. Some common techniques for image selection which will make you a better editor are discussed below.
- Rectangular Selection: This is one of the simplest selection methods. You click and drag to create a rectangular box around the area you want to select. It's great for selecting images with straight edges.
- Elliptical Selection: Similar to the rectangular selection, but this tool allows you to create circular or oval selections. It’s useful for selecting rounded elements.
- Lasso Tool: This tool lets you draw freehand around the area you wish to select. It’s perfect for irregular shapes and provides more control.
- Magic Wand: The magic wand tool automatically selects areas of similar color. This technique is great for quickly selecting large, uniform areas.
- Polygonal Lasso Tool: This tool is a variation of the lasso tool that allows you to create straight-edged selections. It’s ideal for selecting geometric shapes.
- Magnetic Lasso Tool: This is a more advanced lasso tool that “snaps” to the edges of an object as you drag it. It’s especially useful for selecting complex shapes.
Also Read This: How to Remove the Getty Images Watermark with a Step-by-Step Guide
Adjusting Your Selection for Precision
After making your choice, you may want to make some changes for it to look perfect. Adjustments on your selection are critical in delivering good results. You can fine-tune your selection with these practical tips:
- Expand or Contract: Most editing tools allow you to expand or contract your selection. This feature is helpful if you need to include or exclude parts of the image.
- Feathering: Feathering softens the edges of your selection, making it blend seamlessly into the background. Adjust the feathering radius according to the effect you want.
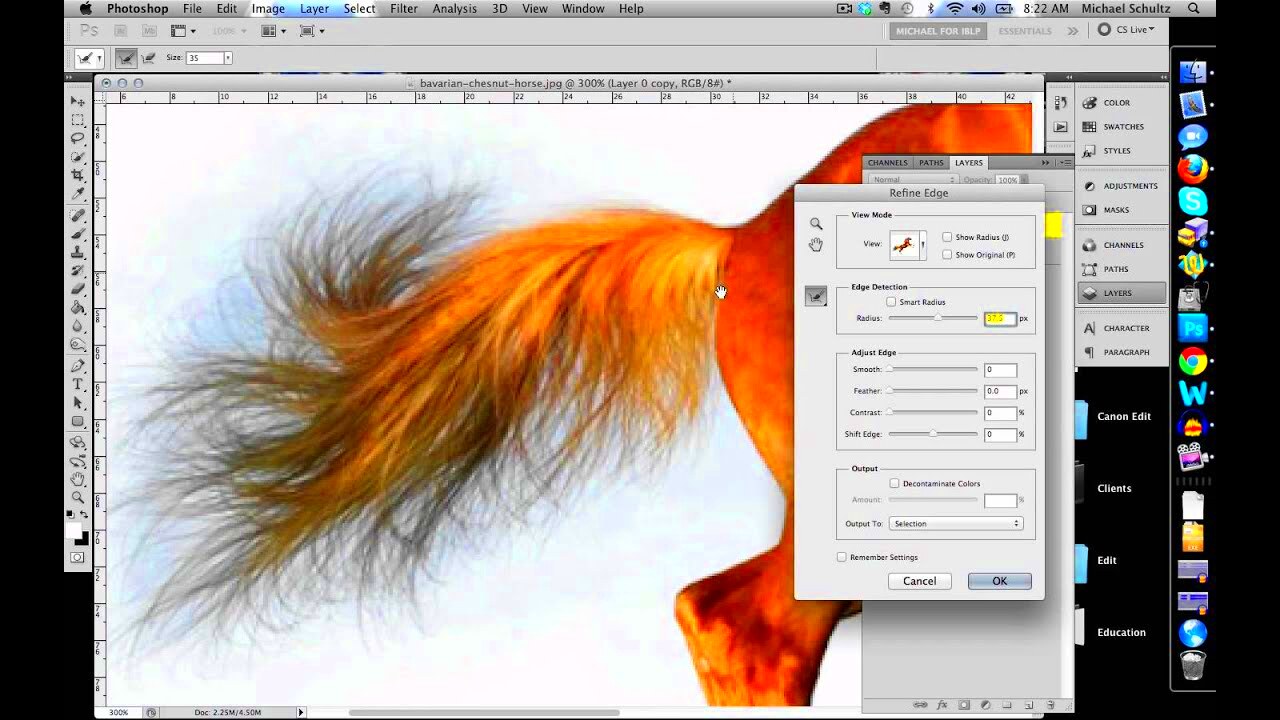
- Refine Edge Tool: This tool allows you to adjust the edges of your selection, enhancing details and providing a smoother transition. Look for options like smooth, feather, or contrast.
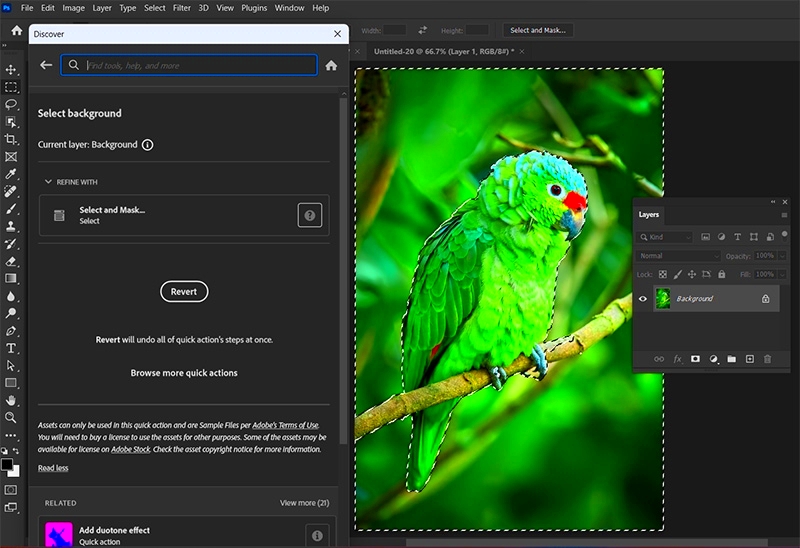
- Quick Mask Mode: In some tools, you can enter a quick mask mode to visualize your selection better. It allows you to paint over areas to include or exclude.
Your revisions will always look professional if using the discussed selection adjustment methods; this is because they will ensure that your results are more precise and thus appealing.
Also Read This: How to Find the Image ID of an Image Quickly
Saving and Exporting Your Selected Image
After you have picked the area of an image which you want to work on and made necessary modifications, it is time to preserve and transmit your output. The method in which you save and export may influence the quality as well as format of your photo, therefore let us discuss the processes to help you do them correctly.
- Select the Right File Format: Choose a file format that suits your needs. Common formats include:
- Save Your Work: In your editing software, go to the File menu and choose “Save As.” Make sure to give your file a descriptive name.
- Export Settings: Adjust the export settings based on your intended use. For online use, you might want to reduce the file size, while for printing, maintaining higher resolution is crucial.
- Choose a Destination: Select the folder where you want to save the file, ensuring it’s easy to find later.
- Check Your Work: After saving, open the file to ensure everything looks as you expected. This step helps avoid surprises later on.
| Format | Best for |
|---|---|
| JPEG | Photographs and images with gradients. |
| PNG | Images with transparency or those requiring lossless quality. |
| GIF | Simple graphics and animations. |
These steps help you to save and export the selected images properly as per your requirements by keeping their quality intact.
Also Read This: Enhancing Image Transparency in Google Slides
Tips for Effective Image Selection
In the world of image editing, selecting parts of an image is not a mere simple act of clicking and dragging. Instead, this is an art that has the potential to greatly change your project. For newbies or those who have been on the job for a while now, some few helpful tips could make things plain sailing when it comes to selecting images. Here are some useful tips on how to pick out images more effectively:
- Take Your Time: Don’t rush through the selection process. Take your time to outline the area carefully, ensuring that you capture all the details you need.
- Use Zoom: Zooming in on your image can help you make more precise selections, especially for intricate details. Don’t hesitate to get up close!
- Practice with Different Tools: Each selection tool has its strengths. Experiment with different tools to see which one works best for your style and the type of image you’re working with.
- Work in Layers: Using layers allows you to make selections without permanently altering the original image. You can easily undo or refine your work later.
- Learn Keyboard Shortcuts: Familiarize yourself with keyboard shortcuts for your editing software. This can speed up your workflow and make the selection process more efficient.
- Check Your Edges: After making your selection, zoom out to check how it looks against the entire image. Ensure the edges blend well and make adjustments if necessary.
By using these suggestions, picture choosing will be more straightforward and fun so that you can express yourself in a creative way.
Also Read This: Assessing the Quality of Adobe Stock Photos and Assets
Frequently Asked Questions about Image Selection
For novices in the art of photo-editing, choosing an appropriate image may become perplexing at times. Here are some answers to frequently asked questions about image selection which might help explain certain common doubts:
- What is the best tool for making selections? The best tool often depends on the specific image and your comfort level. Tools like the lasso, magic wand, and pen tool are popular choices.
- How can I improve my selection accuracy? Zooming in and using the right selection tools can help improve accuracy. Feathering the edges can also create a smoother transition.
- Is there a way to reverse my selection? Yes! Most editing software allows you to deselect your selection with a simple shortcut (usually Ctrl+D or Command+D).
- What should I do if I accidentally select too much? You can modify your selection by expanding or contracting it or using the subtract from selection tool.
- Can I save my selections for later use? Many editing tools allow you to save your selection as a mask or selection preset, making it easy to reuse later.
These tutorials or forums may give more assistance in resolution selection strategies. You are encouraged to ask additional questions.
Conclusion on Selecting Parts of an Image
To sum up, image selection is an important aspect of being a professional creative. It enables you to achieve astonishing outcomes, if only you can get familiar with available selection methods as well as tools and practice them. Knowing how to pick appropriate portions of your images can help improve designing graphics, photo editing and digital art creation. Therefore, this promotes concentrating on the focal point of your composition when creating graphical representations or manipulating snapshots.
You should keep in mind that to have precision in image selecting, you need to be slow and work hard at it. There is no harm in trying out other ways of selecting so that you can discover one which suits your own style best. With these guidelines we’ve discussed together, now you can make selections that are just right for your pictures. All the best while editing!
 admin
admin


