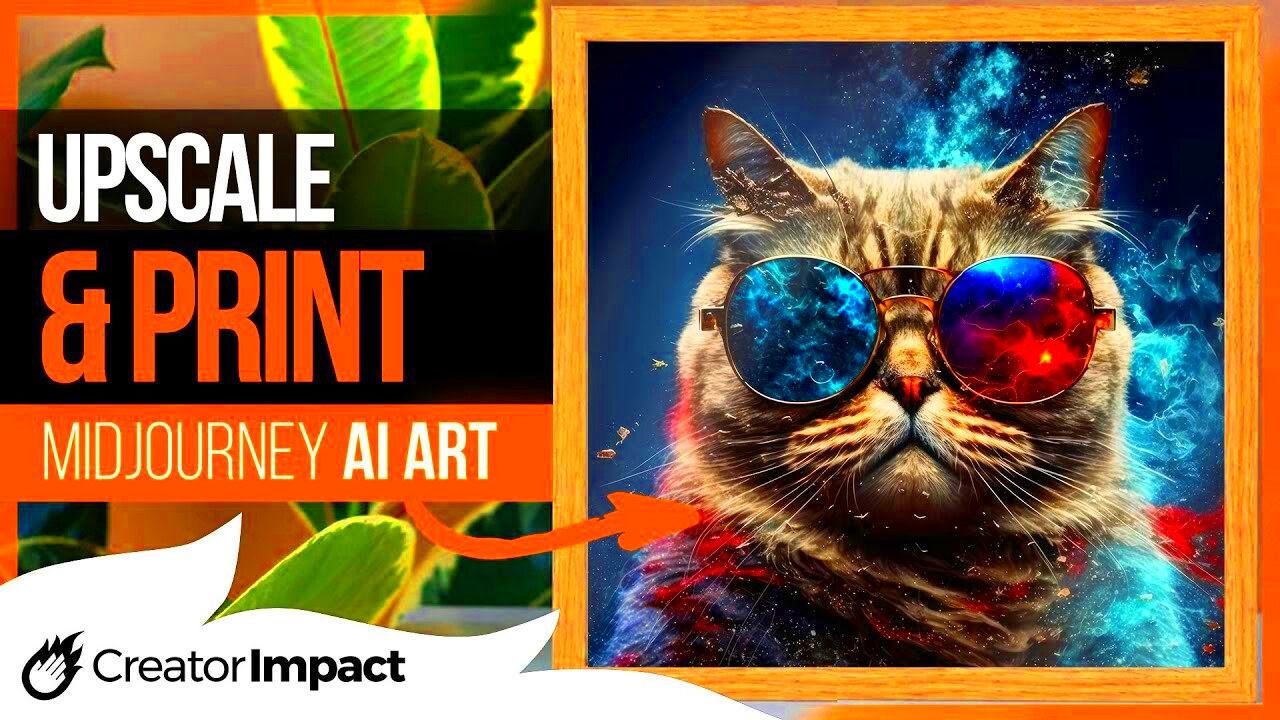
Powered by artificial intelligence, MidJourney is an impressive tool that produces breathtaking pictures. It is loved by artists as well as creators because it has the capacity to come up with original graphics even from very simple commands. However, images from MidJourney are usually of preset resolution which may not be very suitable for printing purposes. For someone who wants to convert digital artworks into physical ones, knowing more about MidJourney images is crucial. Such features include image dimensions, intricacy and definition – all which have an impact on print quality.
Here are a few key aspects of MidJourney images:
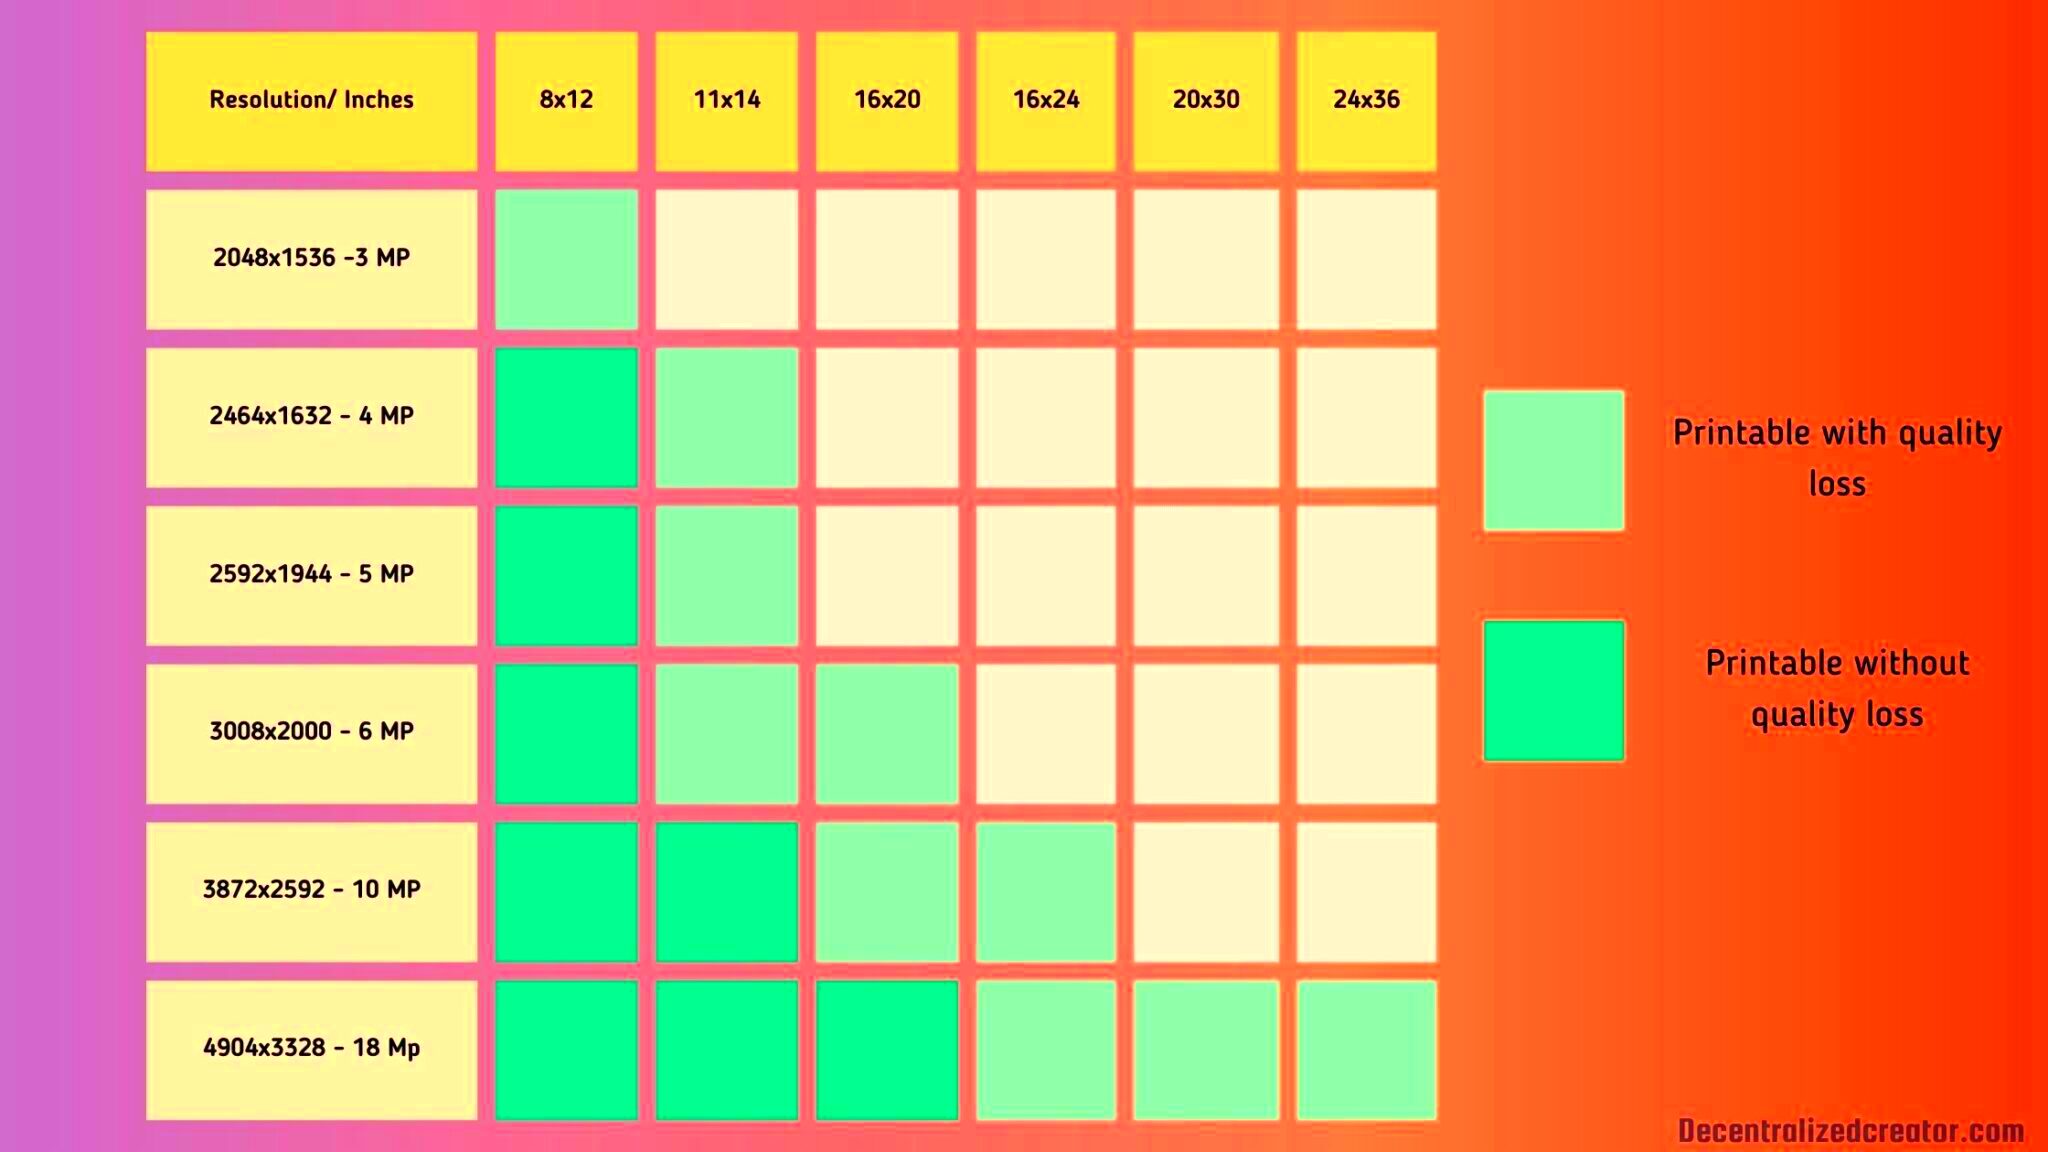
- Resolution: This determines how clear and detailed an image appears in print.
- Aspect Ratio: The relationship between the width and height of an image, important for framing.
- File Format: Common formats include JPEG, PNG, and TIFF, each with different properties.
Importance of Upscaling for Print Quality
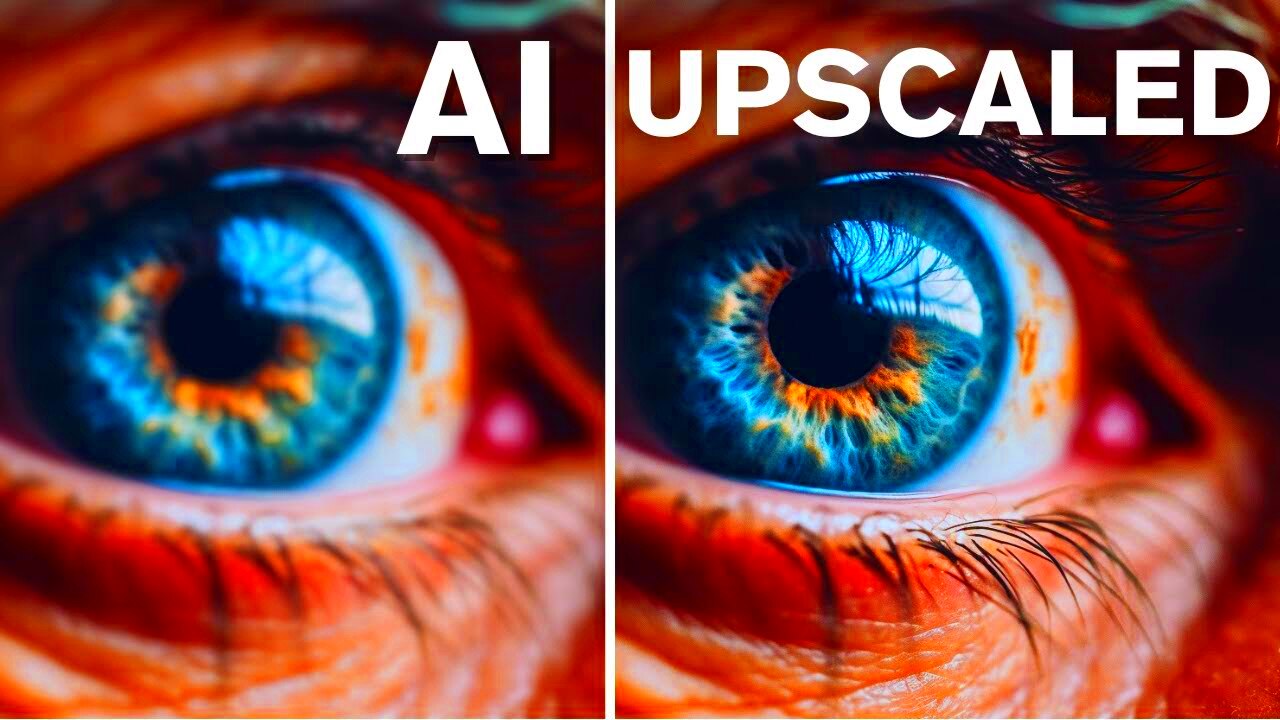
Quality matters most when it comes to printing images. If the image is too small or has a low resolution, it can result in pixelated or blurry prints. This is where upscaling comes in. Upscaling means making a bigger picture out of a smaller one, while looking for ways to keep its original quality or even improve it.
Below are a few justifications for why enhancing the resolution enhances the quality of printed materials:
- Improved Clarity: Upscaling helps maintain clarity and detail, resulting in a sharper print.
- Enhanced Color: Proper upscaling can improve color accuracy and vibrancy.
- Versatility: Larger images can be used for different formats, from posters to canvas prints.
To summarize, in order to get the most from the MidJourney creations you’ve made, employing upscaling is imperative for optimal print quality achievement.
Also Read This: How to Upload a Video to YouTube from iPad
Steps to Upscale MidJourney Images
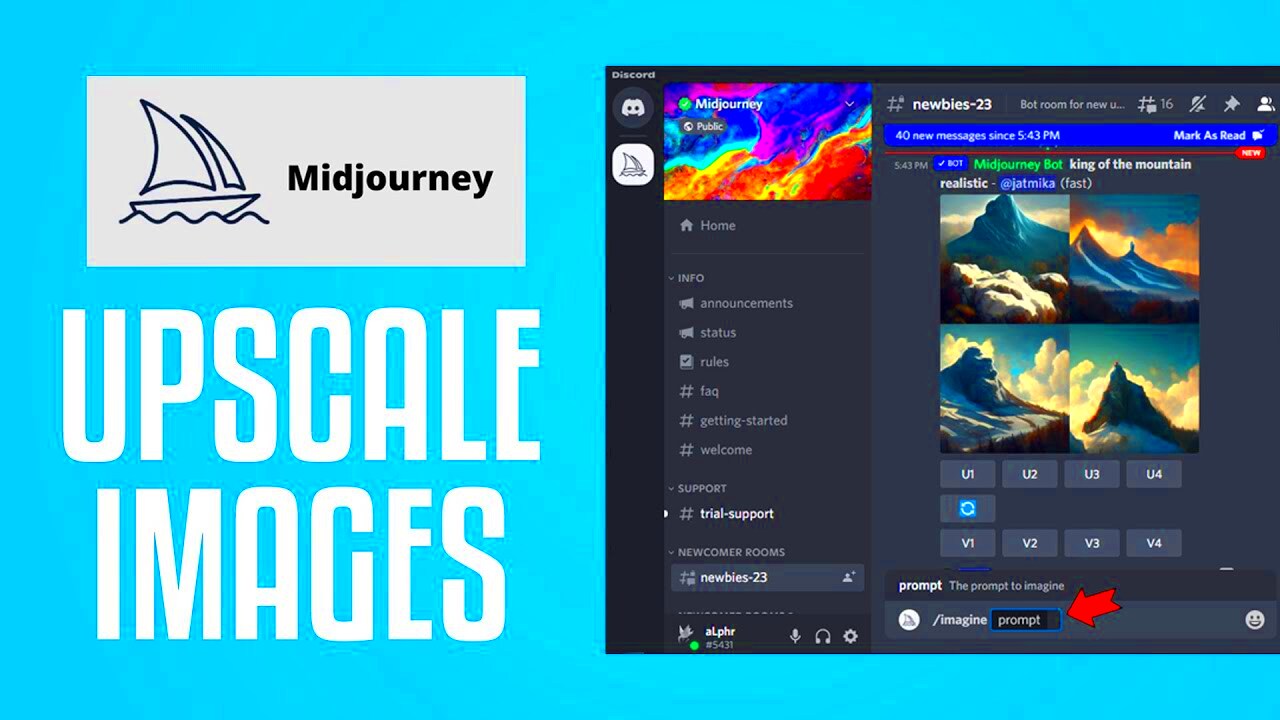
Enlarging your MidJourney images shouldn’t be so difficult as to scare you off. A step by step approach that will assist you is as follows:
- Choose the Right Software: Look for reliable image editing tools like Adobe Photoshop, GIMP, or online upscaling services.
- Open Your Image: Import the MidJourney image into your chosen software.
- Check Resolution: Review the current resolution and determine the desired size for your print.
- Use the Upscale Function: Most software has a built-in option for resizing images. Select this feature to upscale your image.
- Adjust Settings: Some tools allow you to adjust settings like sharpness or noise reduction. Play with these to improve image quality.
- Preview and Save: Always preview your image after upscaling. Make necessary adjustments before saving it in a high-quality format.
By following these steps, you can effectively upscale your MidJourney images, ensuring they look fantastic when printed.
Also Read This: Embedding Images in Canvas
Choosing the Right Tools for Upscaling
For this reason, we will use the text-based method of making images in MidJourney larger by using tools that may be accessed through the internet nowadays. There are plenty of choices online, but choosing any random software or service for enhancing an image’s size may not lead to satisfactory results due to differences in their abilities. It’s important to know what features are most appropriate for each piece of software sold under this category as they all have their own unique advantages. The image enhancement should not only involve enlargement but also improvement of quality without losing original details.
Below is a list of several commonly used instruments which you might find helpful:
- Adobe Photoshop: A professional-grade software with powerful upscaling features, including various algorithms to choose from.
- GIMP: A free and open-source alternative to Photoshop that offers robust image manipulation capabilities.
- Topaz Gigapixel AI: Uses artificial intelligence specifically for upscaling images, providing impressive results.
- Online Services: Websites like Let's Enhance and Waifu2x allow you to upscale images directly from your browser, which is convenient for quick tasks.
When contemplating which tool to choose, think about these aspects:
- Ease of Use: Make sure the software is user-friendly, especially if you're new to image editing.
- Output Quality: Check reviews or try demos to see the quality of upscaled images.
- Cost: Balance your budget with the features you need; some great free tools are available.
Due to this specific gadget, your MidJourney images can be converted into marvelous prints.
Also Read This: Easy Steps to Cancel Your iStock Subscription
Tips for Maintaining Image Quality
For achieving beautiful prints, it is important to ensure the image quality is maintained when up scaling. Bad quality can take a toll on them and hence here are some tips to keeping your photos at their peak:
- Start with High-Quality Images: Always begin with the highest resolution image available. The better the starting point, the better the final result.
- Avoid Over-Editing: While it may be tempting to apply multiple filters or effects, too much editing can degrade image quality.
- Use the Right File Format: Save images in formats that preserve quality, like PNG or TIFF, rather than JPEG, which can lose detail.
- Keep an Original Copy: Always retain the original image so you can return to it if the upscaled version isn’t satisfactory.
- Check Settings: Adjust settings like noise reduction and sharpness according to your image type. Different images may require different settings for the best results.
When printed, your upscaled images will look excellent with these suggestions that can cause an enormous improvement in quality.
Also Read This: Making Clickable Images in Squarespace
Common Mistakes to Avoid While Upscaling
Mistakes can sneak in easily even when one is intent on doing the best thing while image upscaling. Familiarizing oneself with tendencies that most often contribute to failure may lead to avoiding them subsequently. These are some of the things that constitute errors:
- Ignoring Image Resolution: Always check the current resolution before upscaling. Upscaling an already low-resolution image won’t magically improve quality.
- Relying on One Tool: Different tools work better for different images. Don’t hesitate to experiment with several options to see which yields the best results.
- Neglecting to Preview: Always preview your upscaled image before saving. It allows you to catch any issues early on.
- Upscaling Too Much: Dramatically increasing the size can lead to pixelation and blurriness. Try to upscale gradually and assess the quality at each step.
- Forgetting About Color Profiles: Different devices and software can interpret colors differently. Make sure to check and match color profiles for consistency.
MidJourney images can produce much better results by avoiding these common mistakes. So, don’t rush; take your time and think about it for a while before doing each step.
Also Read This: Teams Screen Share: Sharing Screen on Microsoft Teams on Mac
Frequently Asked Questions
There are many questions that come up when you are trying to upscale MidJourney images for print. Below are some frequently asked questions and their responses to help in understanding the process:
- What is the best resolution for printing images?
For high-quality prints, a resolution of 300 DPI (dots per inch) is generally recommended. This ensures that your images appear sharp and clear. - Can I upscale images without losing quality?
While upscaling may not always preserve the original quality perfectly, using the right tools and techniques can significantly minimize quality loss. - Is there a limit to how much I can upscale an image?
Yes, while some tools can upscale images considerably, going beyond 2-3 times the original size can lead to noticeable quality degradation. - Are online upscaling tools effective?
Many online tools, like Let's Enhance and Waifu2x, use AI algorithms to enhance images and can provide excellent results, especially for quick projects. - What file formats should I use for upscaled images?
Saving in lossless formats like PNG or TIFF is best for retaining quality. JPEG is less ideal, especially for repeated editing. - How can I tell if my upscaled image is print-ready?
Check the resolution and quality on your screen. If it looks sharp and meets the 300 DPI standard, it’s likely print-ready.
Conclusion and Final Thoughts
Your artwork can be greatly improved by upscaling MidJourney images for printing so you can exhibit and share your creativity in high-quality format. They are right tools for this process. Always try to maintain image quality as needed or avoid common problems. To achieve wonderful results, bear in mind that you need to do these things slowly and take into account a whole set of factors concerning the upscaling procedure so that your photos will look decent when printed on paper.
 admin
admin