Web creation relies heavily on HTML buttons which are important components. They permit site visitors to perform various actions on the page such as filling out forms, initiating downloads or executing JavaScript functions. Here we shall examine how to create a basic button, the different categories available and also look at their associated properties.
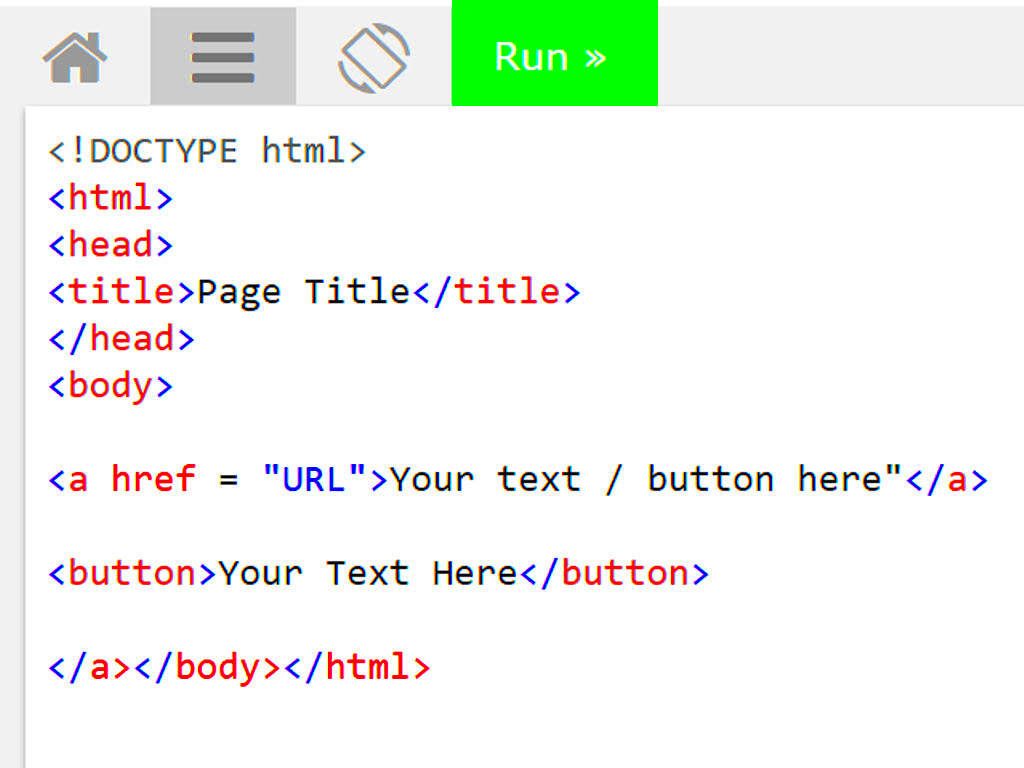
To create a button, you use the <button> tag. Here’s a simple example:
<button type="button">Click Me!</button>Fall under some categories of buttons are a couple of types:
- Button: A generic button that can be programmed with JavaScript.
- Submit: Sends form data to a server.
- Reset: Resets form fields to their initial values.
Among the characteristics that could be useful to consider are:
| Attribute | Description |
|---|---|
| id | A unique identifier for the button. |
| class | Allows you to apply CSS styles. |
| onclick | Executes JavaScript when the button is clicked. |
By understanding these fundamentals, functional buttons that encourage user interaction can be developed.
Choosing the Right Image for Your Button

Enhance significantly the attractiveness of the buttons by using images. However, it is very important to select a good image. You will need an image that suits your website’s theme and is able to catch the attention of users. Below are some parameters for selecting an appropriate
- Relevance: Ensure the image relates to the button's function. For example, a shopping cart icon for a purchase button.
- Quality: Use high-resolution images to maintain a professional look.
- Style: Match the image style with your website's design. Whether it’s flat, gradient, or 3D, consistency matters.
Moreover, consider the size and color of the image:
- Avoid images that are too large or small.
- Choose colors that contrast well with the background for better visibility.
To find quality images, resources like HD Stock Images can be very helpful. Always ensure you have the right permissions to use images on your site.
Also Read This: DIY Vase Making with Plastic Bottles
Using CSS to Position Your Button
Upon preparing your image together with its button, it's important that they are properly positioned. CSS (Cascading Style Sheets) offers efficient means of placing various elements on a web page. Here’s how to position a button in front of an image:
First, set the image as a background for a <div> container:
.button-container {
    background-image: url('your-image.jpg');
    width: 300px; /* Set width */
    height: 200px; /* Set height */
    position: relative; /* Enables absolute positioning */
}
Now, the button can be positioned by:
.button {
    position: absolute; /* Allows positioning within the container */
    top: 50%; /* Center vertically */
    left: 50%; /* Center horizontally */
    transform: translate(-50%, -50%); /* Adjusts to perfect center */
}
With this CSS that you have mentioned above, the button will look great on the picture because it is located exactly in the center of the image when displayed. Don’t forget to confirm the placement on various platforms to fit all sizes!
Also Read This: Imago Images: The Best Stock Photo Agency for Designers and Creatives
Adding Functionality to Your Button with JavaScript
After placing your button, it’s time to make it interactive. JavaScript allows users to add more functionality to their buttons making them more engaging. This section will show how you can use JavaScript for simple but powerful actions when users click the button.
Out of several acts that are prevalent across all cultures, this one of sending an alert in form of window is very popular. Below is a simple illustration:
<button onclick="alert('Hello, World!')">Click Me!</button>When button is clicked, simple alert will be displayed by this code. Moreover, you can also dynamically change buttons content or style. Here’s how:
function changeButton() {
    var button = document.getElementById('myButton');
    button.innerHTML = 'Clicked!';
    button.style.backgroundColor = 'lightblue';
}
And you may invoke this function inside your button as follows:
<button id="myButton" onclick="changeButton()">Click Me!</button>With JavaScript, there is no limit to your abilities! For instance, you can do things like validating forms or loading new content or even travelling to another page. But always try to remember that when you are doing this it should be simple and easy to use for effective functionality.
Also Read This: Merging Two Images in Paint for Creative Projects
Testing Your Button on Different Devices
Once you have added new features, it is advised that your button be tested on different devices. This guarantees that user experience is uniform regardless of whether those users are using desktops or tablets or smartphones for that matter. Below are some important things to look out for when conducting tests for button designs:
- Responsive Design: Make sure your button resizes appropriately. Use CSS media queries to adjust styles based on screen size.
- Functionality Check: Test all button functionalities on different devices. Does the alert work? Does the button change color?
- Cross-Browser Compatibility: Ensure your button looks and functions well in different web browsers (Chrome, Firefox, Safari, etc.).
You can use tools like BrowserStack or Responsive Design Checker to help with this process. It's also beneficial to gather feedback from real users, as they can point out issues you may not have noticed.
Best Practices for Accessibility and Usability
When it comes to making sure all users can effectively navigate your website, including those with disabilities, it is very important that the buttons are accessible and user-friendly. Accessibility not only increases visitors to your site but enhances overall experience for visitors. The following are some of the best button design practices:
- Use Descriptive Text: Avoid generic labels like “Click Here.” Instead, use specific text that describes the action, such as “Download PDF” or “Submit Form.” This helps users understand what will happen when they click the button.
- Keyboard Navigation: Ensure users can navigate to the button using keyboard shortcuts (like the Tab key). This is essential for users who cannot use a mouse.
- Color Contrast: Make sure there’s enough contrast between the button text and its background color. This aids visibility for users with visual impairments.
- Focus Indicators: Provide clear focus indicators when the button is selected. This helps users see which button they’re currently focused on, especially when navigating via keyboard.
Here’s a straightforward list of things you may need to check:
| Best Practice | Implementation |
|---|---|
| Descriptive Labels | Use specific action-oriented text |
| Keyboard Accessible | Allow navigation via keyboard |
| High Contrast | Ensure button text stands out |
| Focus Indicators | Highlight the button when focused |
Adhering to these conventional techniques will enable one to formulate buttons that are not just operational but also accommodating to everyone.
Also Read This: Crediting Images in PowerPoint Presentations
FAQ
As you are adding buttons on your images, you may have some queries regarding this procedure. You can refer to the following frequently asked questions for clarity concerning these common issues:
- How do I change the color of my button?
Use CSS to style your button. For example:button { background-color: blue; color: white; } - Can I add animations to my button?
Absolutely! CSS animations can make your buttons more engaging. For example, you can add a hover effect that changes the button color. - What if my button doesn’t work on mobile?
Check if you have any JavaScript errors in the console. Also, ensure that your touch target size is large enough for easy tapping. - How can I make my buttons accessible?
Follow best practices for accessibility, such as using descriptive labels, ensuring keyboard navigation, and maintaining high color contrast.
In case of any further inquiries, please do not hesitate to contact the community or seek extra counsel from the available internet discussion groups!
Conclusion
Conclusively, it can be said that including some buttons on top of pictures would help to improve the user’s travels through the site. Just learn how to create simple html buttons, choose an appropriate picture for them, and apply css and javascript appropriately to come up with interesting and usable elements. The most important thing here is to ensure that everyone can access and use the buttons created. Before users experience any issues themselves, try testing the sites with different devices.
The well-functioning buttons, which everyone can use easily, will be achieved through the best practices and by addressing common concerns. Therefore, proceed to design interactive buttons which will improve your site’s functionality for all users.
 admin
admin


