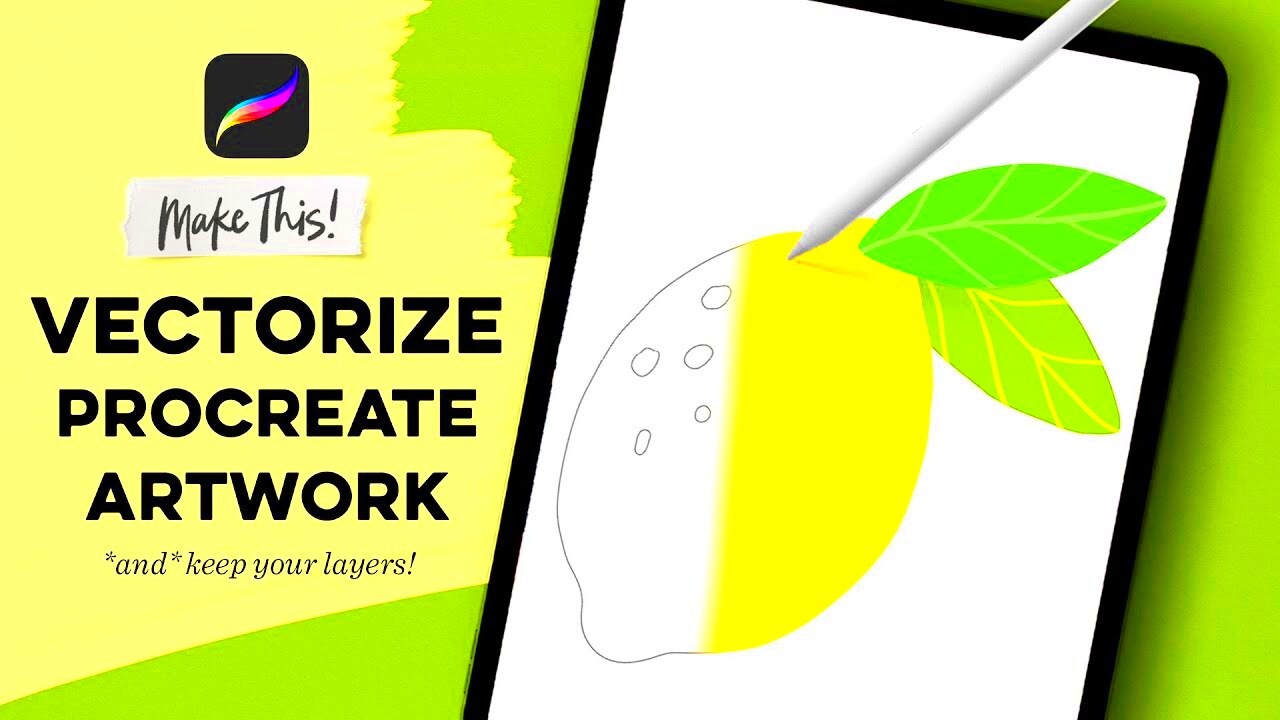
Vectoring images is an exciting way to create sharp, scalable graphics in Procreate. Unlike raster images, which can lose quality when resized, vector graphics remain crisp and clear at any scale. This capability makes vector art a popular choice for logos, illustrations, and print designs. In this guide, we will explore how to vector an image in Procreate, breaking it down into easy steps. Whether you’re new to Procreate or looking to enhance your skills, this process will help you create beautiful vector images.
Understanding the Basics of Vector Graphics
Before diving into the vectoring process, let’s clarify what vector graphics are. Unlike raster images, which are made of pixels, vector graphics use mathematical equations to create shapes. Here are some key points to understand:
- Scalability: Vector images can be resized without losing quality.
- File Size: They typically have smaller file sizes compared to high-resolution raster images.
- Editability: Individual elements can be easily edited or adjusted.
- Common Formats: SVG, AI, and EPS are popular vector formats.
Understanding these concepts will help you appreciate the advantages of vectoring images in Procreate. It’s a powerful tool for creating detailed and professional-looking graphics.
Also Read This: Ultimate Guide to Customizing Storyblocks After Effects Files
Getting Started with Procreate for Vectoring
To get started with vectoring in Procreate, you need to set up your canvas and familiarize yourself with the tools you'll use. Here’s how to begin:
- Open Procreate: Launch the app on your iPad.
- Create a New Canvas: Tap the “+” icon and choose a size. For vector work, a larger canvas can provide more detail.
- Import Your Image: Tap the wrench icon, select “Insert a photo,” and choose the image you want to vectorize.
- Use the Brush Tool: Select a brush that suits your style. A hard brush can work well for outlines.
Once your canvas is ready and your image is imported, you can start the vectoring process. Take your time to explore the tools and find what works best for your style. Procreate offers many features that can enhance your vectoring experience.
Also Read This: How to Center a Header Image in HTML
Step-by-Step Guide to Vector an Image
Now that you’re set up in Procreate, let’s dive into the step-by-step process of vectoring your image. This method will help you achieve clean lines and precise shapes. Follow these steps:
- Lower the Opacity: Select your imported image layer and reduce the opacity. This will make it easier to trace over the image.
- Create a New Layer: Tap the "+" icon to create a new layer above your image. This will be your vector layer.
- Use the Selection Tool: Choose the selection tool and outline the area you want to vector. This helps you keep your work organized.
- Trace the Image: Using your brush, start tracing the outline of your image. Focus on capturing essential details and shapes. You can use different brush sizes for varying line thickness.
- Fill in Colors: Once you’ve completed your outline, you can fill in colors. Select your fill color and tap inside the shapes you created.
- Refine Your Work: Zoom in to clean up any rough edges and make adjustments. Procreate allows you to easily modify your lines and shapes.
By following these steps, you’ll be well on your way to creating a beautiful vector image. Remember, practice makes perfect, so don’t hesitate to experiment!
Also Read This: Easy Tips to printing Four Images on One Page
Tools and Features in Procreate for Vectoring
Procreate is packed with tools and features that make vectoring images a breeze. Here’s a rundown of some key tools to utilize:
- Brushes: Procreate offers a variety of brushes. For vectoring, a hard round brush is often best for clean lines.
- Selection Tool: This tool allows you to select areas of your artwork to edit or fill without affecting the rest.
- Color Palette: Use the color palette to choose and save your colors for easy access.
- Layer System: Organize your work by using multiple layers. This lets you separate outlines from colors and makes adjustments easier.
- Alpha Lock: This feature helps you fill in colors without going outside the lines, ensuring a clean finish.
These tools will enhance your vectoring experience in Procreate. Understanding how to use them effectively can significantly improve the quality of your artwork.
Also Read This: How to Edit Text in JPEG Images Online for Fast Updates
Tips for Achieving the Best Results
To create stunning vector images in Procreate, consider these helpful tips:
- Practice Regularly: The more you practice vectoring, the more comfortable you will become with the tools and techniques.
- Study Existing Vector Art: Look at other artists' work to understand different styles and approaches. This can inspire your own designs.
- Take Breaks: Don’t rush the process. Taking breaks can help you see your work from a fresh perspective.
- Experiment with Styles: Try different brushes and color combinations to find what suits your artistic vision best.
- Seek Feedback: Share your work with friends or online communities to get constructive feedback that can help you improve.
By applying these tips, you can elevate your vectoring skills and create impressive artwork that stands out. Remember, the journey of learning is just as important as the final result!
Also Read This: Creating Beautiful Ribbon Embroidery Flowers with a Step-by-Step Guide
Common Mistakes to Avoid When Vectoring
Vectoring images can be a rewarding process, but it’s easy to make mistakes along the way. Here are some common pitfalls to watch out for, so you can achieve the best results:
- Ignoring Layer Management: Not using multiple layers can make your artwork messy and hard to edit. Always separate your outlines, colors, and details onto different layers.
- Rushing the Outline: If you rush through outlining your image, you might end up with jagged lines or missed details. Take your time to trace carefully.
- Neglecting Proportions: Forgetting to maintain proper proportions can lead to distorted images. Regularly zoom out to check your work from a distance.
- Overusing Effects: While Procreate offers various effects, overusing them can make your artwork look cluttered. Use them sparingly to keep your design clean.
- Skipping the Cleanup Process: Failing to refine your lines or clean up rough edges can make your final piece look unprofessional. Always zoom in to polish your work.
Avoiding these mistakes will help you create cleaner, more professional-looking vector images. Remember, every artist learns through trial and error, so don’t be discouraged!
Also Read This: How to Upload a YouTube Video to Canvas
FAQ about Vectoring Images in Procreate
If you have questions about vectoring images in Procreate, you’re not alone! Here are some frequently asked questions to help clarify common concerns:
- Can I vectorize a photo directly in Procreate?
Yes, you can import a photo and trace over it to create a vector image. - What brushes are best for vectoring?
Hard round brushes are usually the best choice for clean lines and precision. - Can I convert my vector image to a different format?
While Procreate doesn't export directly as SVG, you can export as PNG or JPEG and use another program for conversion. - Is there a way to edit shapes easily?
Yes, use the selection tool and the adjustments feature to modify shapes as needed. - How do I save my work?
Make sure to regularly save your work by tapping the wrench icon and choosing "Share" to export in your desired format.
These FAQs should give you a clearer understanding of vectoring in Procreate. If you have more questions, don’t hesitate to explore tutorials or community forums!
Conclusion on Vectoring Images in Procreate
Vectoring images in Procreate is a fantastic way to create high-quality graphics that are versatile and easy to work with. By understanding the basics of vector graphics and mastering the tools available in Procreate, you can produce stunning artwork that stands out. Remember to practice regularly, avoid common mistakes, and embrace the learning process. As you continue to refine your skills, you’ll find your unique style and improve your efficiency in creating vector images.
Whether you’re designing logos, illustrations, or any other creative projects, vectoring in Procreate opens up a world of possibilities. So grab your iPad, start vectoring, and let your creativity shine!
 admin
admin


