Image blurring is a simple yet powerful technique used in photo editing. At its core, blurring involves softening the details in a specific area of an
image.
Steps to Blur Part of an Image in Paint

Blurring part of an
image in Microsoft Paint is a straightforward process. While Paint doesn't have a specific blur tool, you can still achieve a blurred effect using the tools it provides. Here’s a step-by-step guide to help you get started:
- Open Your Image: Launch Paint and open the image you wish to edit. Simply go to 'File' and select 'Open' to find your image.
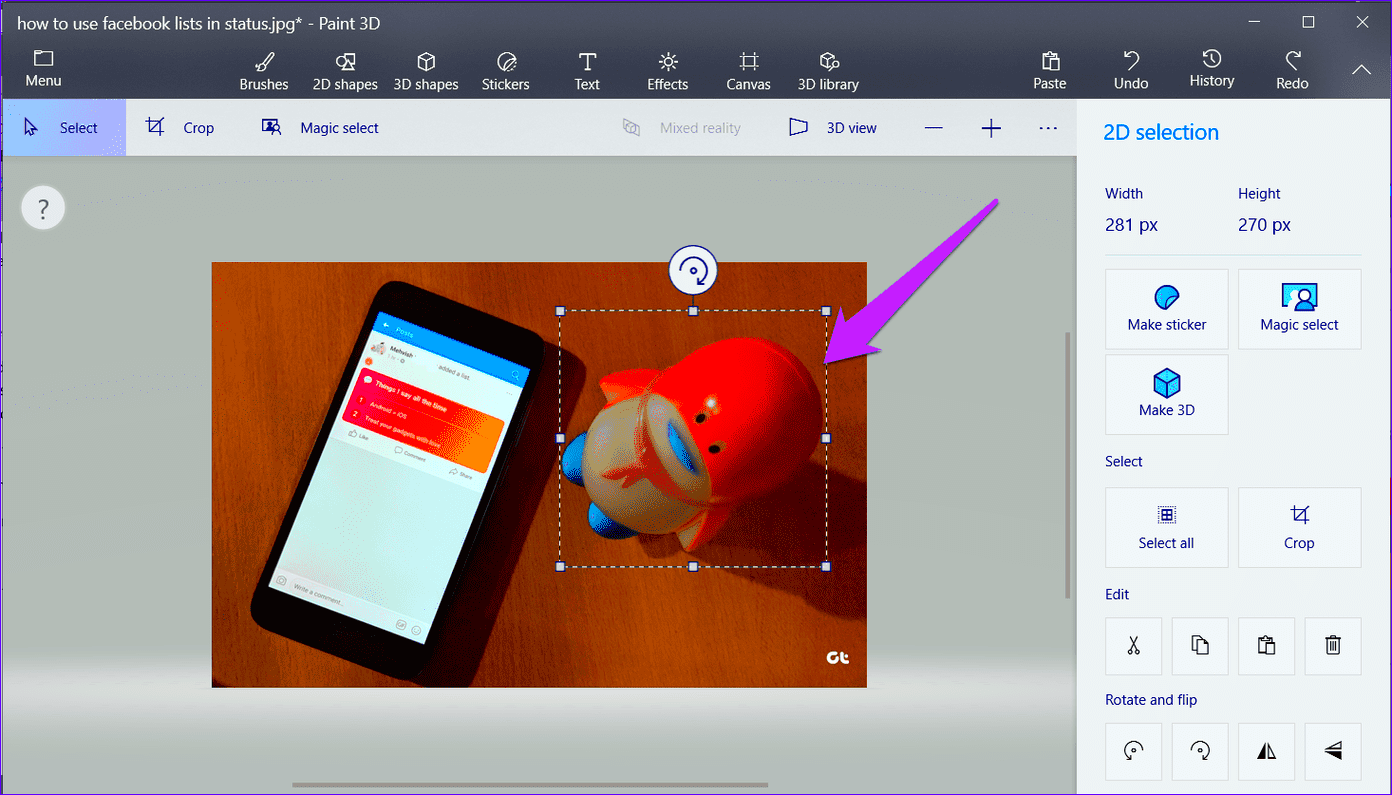
- Select the Area: Use the 'Select' tool to highlight the portion of the image you want to blur. You can choose from rectangular or free-form selection.
- Copy and Paste: Once you've made your selection, copy it by pressing Ctrl + C, then paste it back onto the canvas using Ctrl + V. This creates a new layer of the selected area.
- Use the Eraser Tool: With the pasted area still selected, use the eraser tool to soften the edges. Adjust the size of the eraser for better control.
- Apply Brush Strokes: Select a soft brush from the toolbar and gently paint over the selected area. This can mimic a blur effect.
- Adjust as Needed: You may need to repeat the process a few times, adjusting the brush size or opacity to achieve the desired effect.
- Review Your Work: Zoom in and out to see the effect and make any necessary tweaks.
And there you have it! By following these steps, you can easily blur specific parts of your
image in Paint, enhancing your overall editing skills.
Using the Selection Tool for Accurate Blurring
The selection tool in Paint is key to blurring accurately. It allows you to precisely choose which part of your
image you want to blur, ensuring that the rest remains sharp and clear. Here’s how to effectively use the selection tool:
- Choose the Right Selection Type: Paint offers two main selection options—rectangular and free-form. Choose rectangular for even shapes and free-form for irregular ones.
- Carefully Select Your Area: Click and drag to highlight the area you want to blur. Be sure to include a little extra space around the edges for a smoother blend.
- Copy Your Selection: Press Ctrl + C to copy the selected area. This allows you to manipulate it without affecting the original image.
- Paste on a New Layer: After copying, press Ctrl + V to paste it. You can now work on this new layer independently.
- Soften the Edges: Use the eraser tool to gently remove the hard edges of your selection. This creates a more natural transition between the blurred and sharp areas.
Using the selection tool effectively is crucial for achieving a professional-looking blur. With practice, you'll find it easy to highlight specific parts of your
image while keeping everything else intact.
Saving Your Edited Image in Paint
Once you've blurred your image to your liking, the final step is saving your work. It’s important to save your image correctly to retain your edits. Here's how to do it:
- Click on File: In the top-left corner, click on 'File' to open the drop-down menu.
- Select Save As: Choose 'Save As' to create a new file. This way, your original image remains untouched.
- Choose Your File Format: Paint allows you to save in several formats. Common options include:
- JPEG: Good for web use with smaller file sizes.
- PNG: Retains high quality, especially for images with transparency.
- BMP: A larger file format that preserves details but can be less convenient.
- Name Your File: Choose a descriptive name that helps you identify the image later.
- Select a Save Location: Choose where you want to save the file on your computer, ensuring you can easily find it later.
- Click Save: Finally, click the 'Save' button to store your edited image.
And just like that, your edited image is saved! Remember to check the saved file to ensure everything looks just the way you want it.
Common Issues and Solutions When Blurring Images
When you're working on blurring images in Paint, you may run into some common issues. But don’t worry—most problems have straightforward solutions! Here are some challenges you might face and how to tackle them:
- Uneven Blurring: If the blur effect looks uneven, try adjusting the size of your selection before copying and pasting. Ensuring a slightly larger selection can help create a more consistent blur.
- Accidental Edits: It's easy to accidentally edit areas you didn’t intend to blur. To avoid this, always use the undo feature (Ctrl + Z) if something goes wrong. Also, consider working on a duplicate of your image.
- Poor Quality After Blurring: If your image looks pixelated after blurring, ensure you’re working with a high-resolution version. Low-quality images may not handle blurring well.
- Difficulty Blurring Small Areas: For tiny details, use a smaller brush size. Zoom in to work on these areas, giving you more control over the blurring process.
- Changes Not Saving: If your edits aren’t appearing after saving, make sure you’re clicking 'Save As' and choosing the correct format. Double-check your save location to find your edited image.
By knowing these common issues and their solutions, you can work more confidently and effectively when blurring images in Paint.
Frequently Asked Questions
Many people have questions when it comes to blurring images in Paint. Here are some of the most common queries and their answers:
- Can I blur multiple areas of an image? Yes, you can repeat the blurring process for different areas by selecting and copying each part individually.
- Is there a way to undo a blur effect? If you don’t like the blur effect, you can always use the undo feature (Ctrl + Z) immediately after applying the blur.
- Will blurring affect the overall quality of my image? It might, especially if you're working with a low-resolution image. Always start with the highest quality you have.
- Can I use Paint on a Mac? Paint is a Windows application, but you can find similar tools on a Mac, such as Preview or other photo editing software.
- Are there any alternatives to Paint for blurring images? Yes, other software options include GIMP, Photoshop, and online editors like Canva or Pixlr, which may offer more advanced features.
These FAQs can help clear up any confusion and make your image editing experience smoother!
Conclusion on Blurring Images in Paint
Blurring images in Paint can be a fun and creative process, allowing you to enhance your photos with just a few simple steps. Whether you're aiming to focus attention on a specific subject, create a dreamy effect, or simply hide distractions, knowing how to effectively blur parts of an image is a valuable skill.As we've discussed, starting with the basics of image blurring, understanding the selection tool, and knowing how to save your work can set you up for success. Remember to troubleshoot common issues and refer to the FAQ section if you encounter challenges along the way.With practice, you’ll become more comfortable and confident in your editing abilities. So go ahead, experiment with blurring in Paint, and watch your images transform into something truly special!

 admin
admin