If you're into astrophotography, you've probably heard about Deep Sky Stacker (DSS). It's a fantastic tool for anyone looking to improve their night sky images. Stacking images helps to bring out the details that might be hidden in single frames.
Preparing Your Images for Stacking

Before diving into the stacking process, it's crucial to prepare your images properly. This step can make a significant difference in the final quality of your stacked
image. Here are a few tips to get your images ready:
- Organize Your Files: Create a dedicated folder for your images. This makes it easier to find and manage your files later.
- Use Consistent Settings: When capturing images, try to keep your camera settings the same. Consistency in exposure time, ISO, and aperture helps achieve better results.
- Take Dark Frames: Dark frames are essential for noise reduction. Capture several images with the same settings but with the lens covered to reduce sensor noise.
- Include Flat Frames: These help correct for dust spots and vignetting. Take images of a uniformly lit surface, like a white t-shirt or a computer screen.
- Check Your Focus: Ensure your images are in sharp focus. Blurry images will result in less detail when stacked.
With your images organized and prepared, you’ll be well on your way to creating stunning astrophotography images. A little preparation goes a long way in enhancing your results!
Steps to Stack Your Images in Deep Sky Stacker
Now that your images are ready, let’s walk through the steps to stack them in Deep Sky Stacker. Follow these instructions carefully for the best results:
- Open Deep Sky Stacker: Launch the application if you haven’t already.
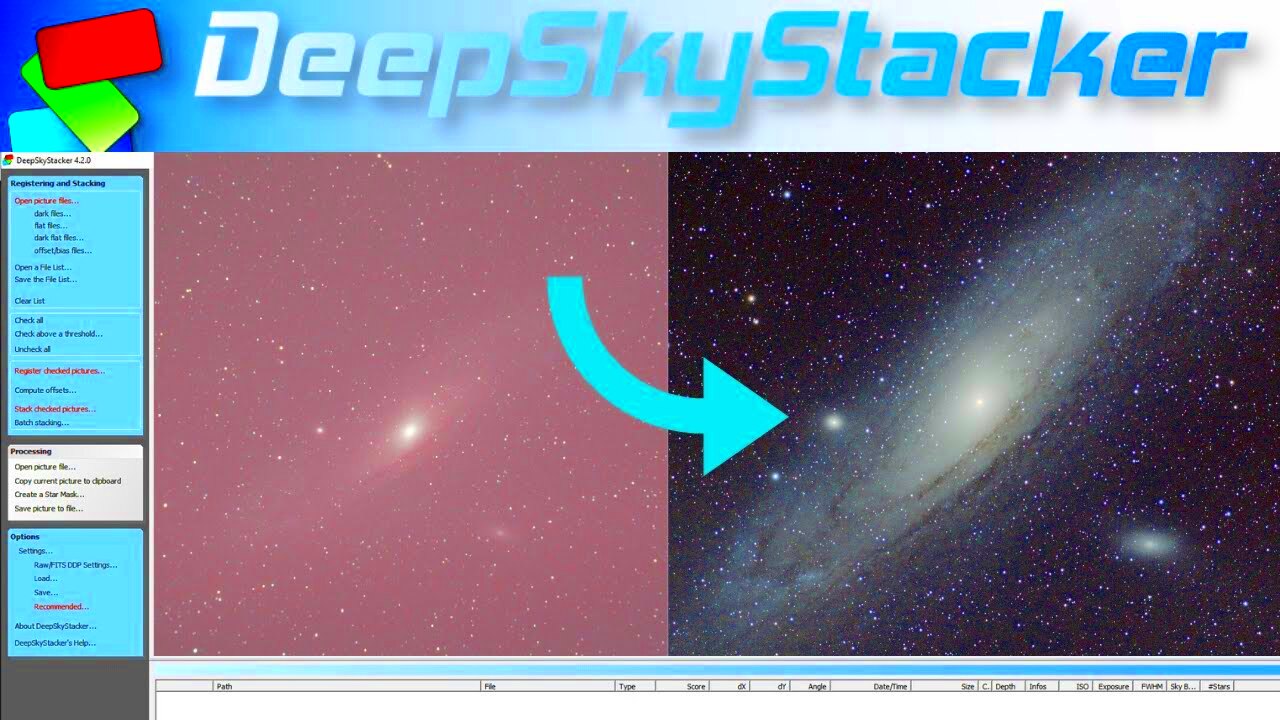
- Load Your Images: Click on "Open picture files" and select the images you want to stack. Make sure to include dark and flat frames if you have them.
- Select Image Types: In the “Image” menu, categorize your images. For example, mark your light frames, dark frames, and flat frames accordingly.
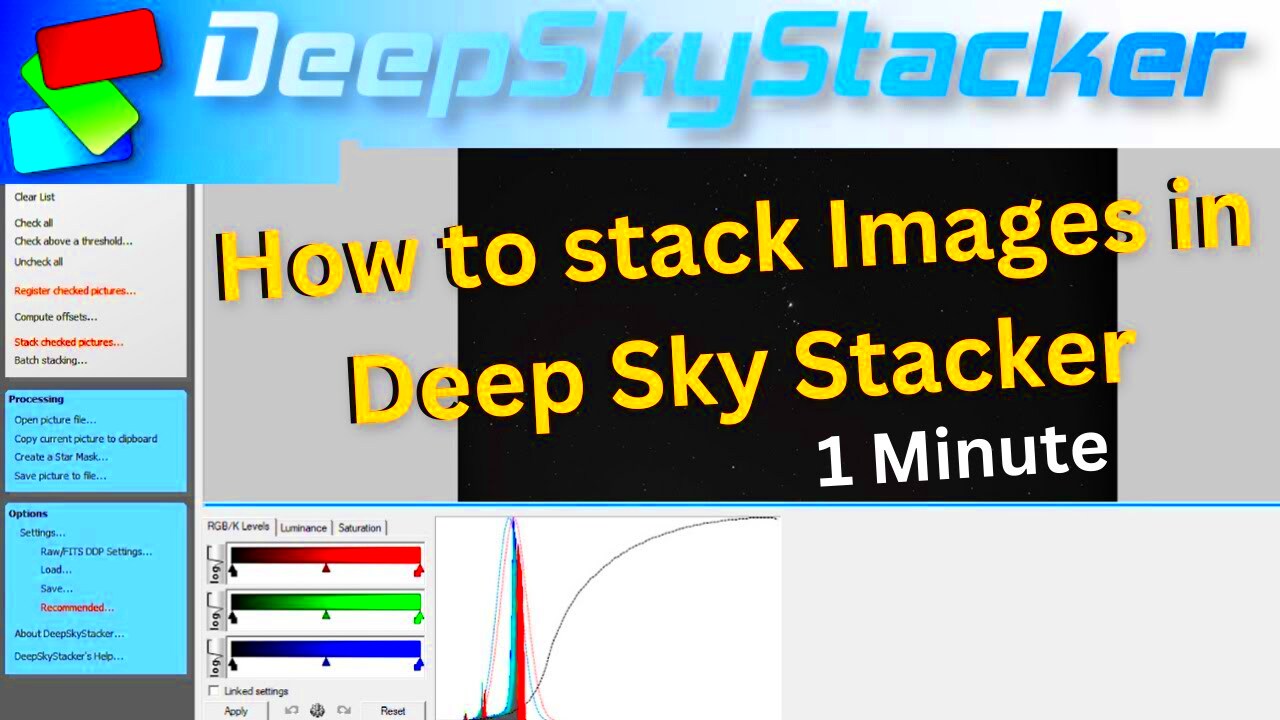
- Check Your Settings: Go to the "Settings" menu. Here, you can choose your stacking method (like average or median) based on your preference.
- Stack the Images: Once everything is set, click on the "Register" button to align your images. After registration, select "Stack" to begin the stacking process.
- Save Your Stacked Image: Once stacking is complete, save your new image. Choose a suitable format, like TIFF or PNG, for better quality.
And that’s it! You’ve successfully stacked your images using Deep Sky Stacker. Take a moment to appreciate the improved clarity and detail in your final
image.
Troubleshooting Common Issues
While stacking images in Deep Sky Stacker can be straightforward, you might run into a few common issues along the way. Here are some problems you might face and how to solve them:
- Images Not Aligning: If your images don't align correctly, check if they are all focused on the same object and have consistent exposure times. Using a higher number of frames can also help improve alignment.
- Excess Noise in Final Image: If your stacked image still has noise, consider taking more dark frames to improve noise reduction. Make sure they match your light frames in exposure settings.
- Streaks or Artifacts: Streaks can appear due to moving objects like airplanes or satellites. Try to exclude these frames during the registration process by marking them as bad images.
- Software Crashes or Freezes: Ensure you have the latest version of Deep Sky Stacker installed. Close unnecessary applications to free up system resources.
By keeping these troubleshooting tips in mind, you can address common challenges and enhance your experience with Deep Sky Stacker. Happy stacking!
Tips for Better Results
Getting great results with Deep Sky Stacker isn't just about following the steps; it's also about refining your process. Here are some handy tips to take your astrophotography to the next level:
- Use a Stable Mount: A sturdy tripod or mount can significantly reduce camera shake. This stability is crucial for long exposures.
- Optimize Your Settings: Experiment with different exposure times and ISO settings. Longer exposures can capture more light, but be cautious of noise.
- Plan Your Shots: Use apps like Stellarium or SkySafari to plan your astrophotography sessions. Knowing when and where to shoot can make a big difference.
- Process Your Images: After stacking, consider using image processing software like Photoshop or GIMP to further enhance your image. Adjusting levels, curves, and color balance can bring out hidden details.
- Join a Community: Engaging with other astrophotographers can provide valuable insights. Online forums or local clubs can be great places to share tips and tricks.
Remember, practice makes perfect. The more you experiment and learn, the better your results will be!
Frequently Asked Questions
Here are some common questions about stacking images in Deep Sky Stacker, along with their answers:
- Do I need special equipment to use Deep Sky Stacker? No, you can use any DSLR or mirrorless camera. Just make sure it supports long exposures.
- Can I stack images taken with different cameras? It’s best to use images from the same camera and settings for the best results, but you can experiment.
- How many images should I stack? Generally, stacking 10 to 20 images can provide a noticeable improvement, but more is often better.
- Is Deep Sky Stacker free? Yes, Deep Sky Stacker is free to use, making it accessible for everyone interested in astrophotography.
- Can I stack images of terrestrial objects? While DSS is designed for astrophotography, you can technically stack any images, but results may vary.
If you have more questions, don’t hesitate to reach out to the community or check online resources!
Conclusion and Final Thoughts
Stacking images in Deep Sky Stacker can transform your astrophotography experience. With the right preparation and techniques, you can create stunning images of the night sky that capture incredible detail and beauty. Remember to take your time and enjoy the process. Each photo is a chance to learn and improve your skills.Don't forget to experiment with different settings, and feel free to ask questions in the community. As you continue your astrophotography journey, you’ll find new ways to enhance your images and enjoy the wonders of the universe. Happy stacking, and may your nights be filled with beautiful skies!
 admin
admin


