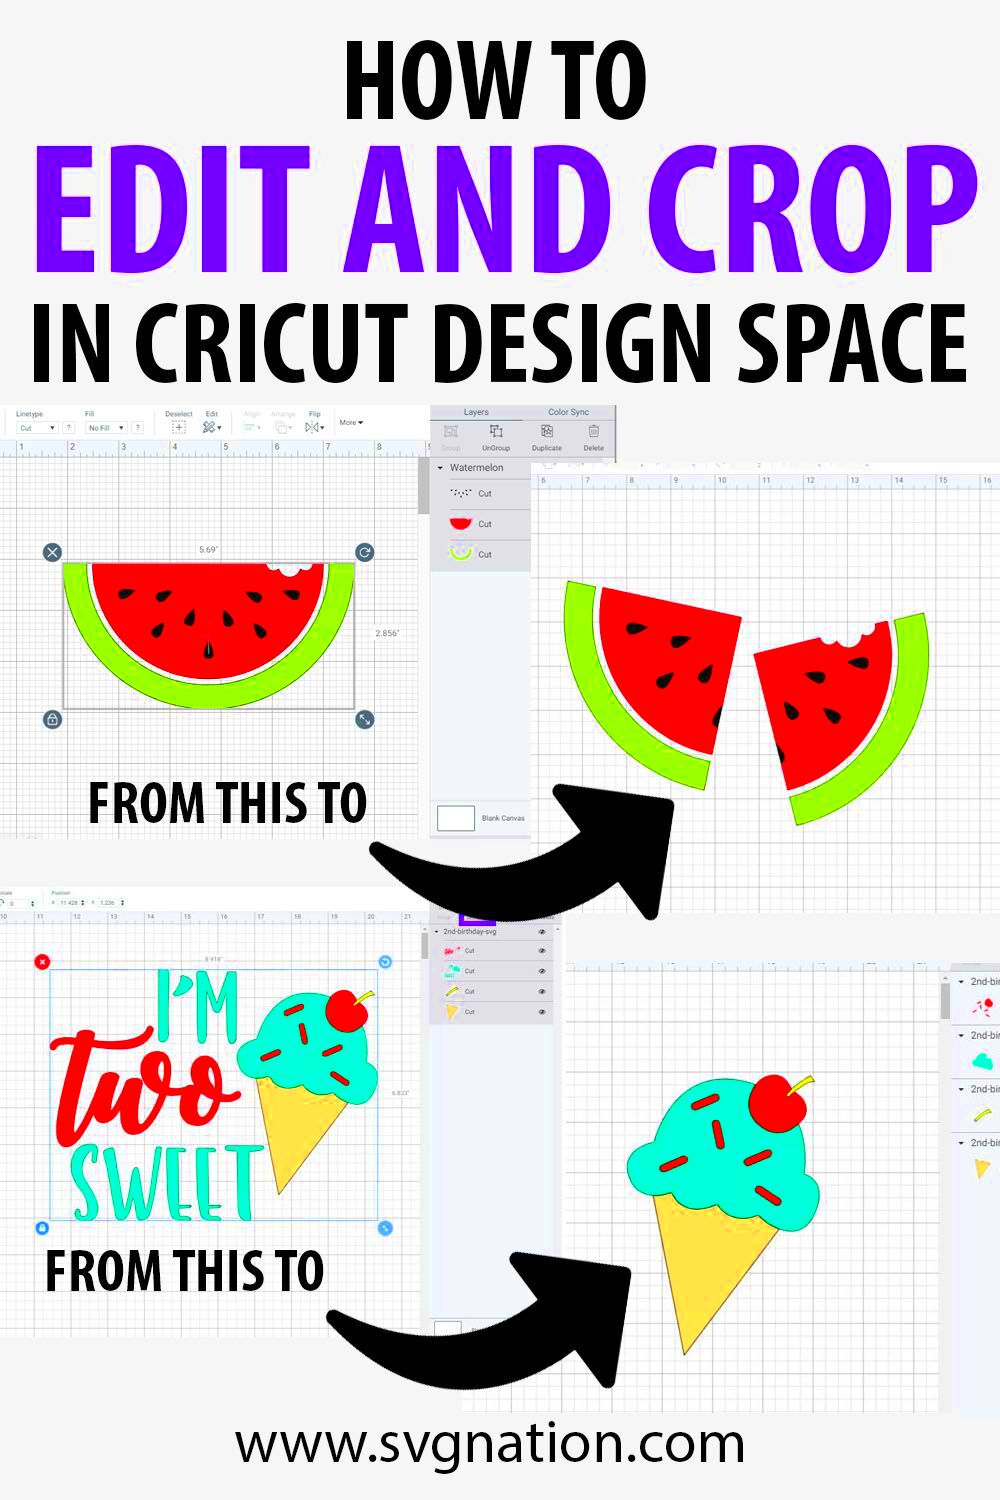
Cropping an
Image cropping is a technique that helps eliminate unnecessary parts and focuses on the important aspects. This step is very significant especially in designing programs like Cricut Design Space. Whether you are engaging in a craft project or just designing prints, knowing how to crop is vital since this will enable clearer presentation of your work.
Here are some of the key things to remember regarding picture cropping:
- Focus on the Subject: Cropping helps you highlight the main subject of your image.
- Aspect Ratio: Maintaining the right aspect ratio is crucial for different projects.
- Resolution: Ensure the image quality remains high even after cropping.
Steps to Crop an Image in Cricut Design Space
Cricut Design Space simplifies the process of cropping photos. Just take these simple steps:
- Open Your Project: Start by opening your project in Cricut Design Space.
- Upload Your Image: Click on "Upload" and select the image you want to crop.
- Select the Image: Once uploaded, click on the image to select it.
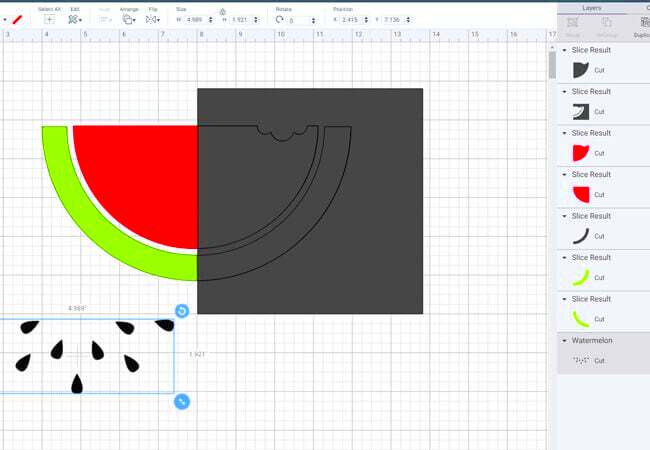
- Use the Crop Tool: Find the "Crop" option in the toolbar and click on it.
- Adjust the Crop Area: Drag the corners of the crop box to frame the area you want to keep.
- Apply the Crop: Click "Apply" to finalize your changes.
- Save Your Work: Don’t forget to save your project after cropping!
Using the Crop Tool Effectively
As far as is known, one of the most robust tools for enhancing designs in Cricut Design Space is the Crop Tool. Make sure that you observe the following guidelines in order to use it properly:
- Zoom In: Before cropping, zoom in on the image to ensure precision.
- Use Grids: Enable grids to align your crop area perfectly with other design elements.
- Experiment: Don’t hesitate to try different crop sizes and shapes to see what works best.
- Preview Changes: Always preview your
Adjusting Image Size Before Cropping
Before you start cropping an image in Cricut Design Space, it’s important to adjust the size of the image to fit your project needs. Proper resizing helps you maintain control over the final design and ensures that the
Follow these steps for resizing:
- Select the Image: Click on the image in your project to highlight it.
- Check the Size Box: In the toolbar, you’ll see width and height options. Enter the specific dimensions you need.
- Lock Aspect Ratio: Always lock the aspect ratio (the small padlock icon) so your image doesn’t get stretched out or squished.
- Drag to Resize: Alternatively, you can click and drag the corners of the image to adjust its size manually.
Resizing helps you get a better sense of how much of the image you want to crop later on, as larger or smaller images may require different cropping strategies.
Common Issues and How to Solve Them
When working with Cricut Design Space, a few common issues can arise during the cropping process. Fortunately, most of these can be easily solved with a few simple adjustments.
Here are some typical problems and their solutions:
- Image Quality Loss: If your image looks pixelated after cropping, it could be due to resizing too much before cropping. Solution: Make sure to use a high-resolution image and only resize it within reasonable limits.
- Uneven Cropping: Sometimes, the crop area may not align with the part of the image you want to keep. Solution: Use the gridlines or enable the "Snap to Grid" feature for more precise cropping.
- Accidental Cropping: If you crop out too much of the image, there’s no undo option after applying the crop. Solution: Make sure to double-check your crop area before applying changes.
- Incorrect Aspect Ratio: The final design may not fit well into your project if the aspect ratio is off. Solution: Use the aspect ratio lock to maintain proportions.
Tips for Achieving the Best Results
Cropping images in Cricut Design Space may seem straightforward, but a few expert tips can help you get the best results every time. By paying attention to detail and using the right techniques, your projects can stand out.
Here are some tips to ensure success:
- Start with a High-Resolution Image: Always begin with the best quality image possible, as cropping will remove pixels and reduce the overall quality.
- Use Guides and Gridlines: Enable guides and gridlines to help with precise cropping, especially for symmetrical designs or when aligning with other elements.
- Keep the Focus Clear: Make sure that the subject of your image remains the focal point after cropping. Don’t crop too tightly or too loosely.
- Check the Project Dimensions: Before cropping, always check the dimensions of your project to ensure the cropped image will fit properly.
- Preview the Final Design: Always preview your project with the cropped image to see how it will look in its final form. This can help you spot any last-minute adjustments needed.
By following these tips, you can ensure that your cropped images are clean, sharp, and ready for any project in Cricut Design Space.
FAQ
1. What is image cropping?
Image cropping is a technique used to remove unnecessary parts of an image, focusing on the important aspects to enhance presentation and clarity.
2. Why is cropping important in design projects?
Cropping helps highlight the main subject of an image, maintain the correct aspect ratio, and ensure high image quality, making it essential for clear and effective designs.
3. How do I crop an image in Cricut Design Space?
- Open your project.
- Upload your image.
- Select the image.
- Use the Crop Tool from the toolbar.
- Adjust the crop area by dragging the corners.
- Click "Apply" to finalize your changes.
- Save your project.
4. What should I do before cropping an image?
It’s important to adjust the image size to fit your project needs. You can select the image, check the size box for dimensions, lock the aspect ratio, and drag to resize if necessary.
5. What common issues can arise during cropping?
Common issues include image quality loss, uneven cropping, accidental cropping, and incorrect aspect ratio. Solutions involve using high-resolution images, enabling gridlines, double-checking crop areas, and locking the aspect ratio.
6. What tips can help me achieve the best results when cropping?
Start with a high-resolution image, use guides and gridlines for precision, ensure the subject remains the focus, check project dimensions, and preview the final design to catch any last-minute adjustments.
Conclusion
Cropping is a vital technique in design that enhances the presentation and focus of your images, especially in programs like Cricut Design Space. By following the outlined steps for cropping and resizing, and being aware of common challenges and best practices, you can ensure that your projects look professional and visually appealing. With attention to detail—such as maintaining aspect ratios and using high-quality images—you can create impactful designs that effectively showcase your work. Whether you’re crafting or designing prints, mastering cropping will significantly elevate the quality of your projects.
 admin
admin


