Integrating visuals into CSS is one way to change web design and therefore make your site more attractive. CSS can be used for background images, icons or decorative purposes. CSS gives you greater control over how those images appear and behave on a page. You will learn how to add images using Visual Studio Code and CSS in an efficient manner hence making your online projects more vibrant and interesting through this guide.
Setting Up Visual Studio Code for Your Project

Visual Studio Code must be set up first before putting in pictures in CSS. Follow these steps to accomplish that:
- Download and Install Visual Studio Code: If you haven’t installed it yet, download Visual Studio Code from the official website and install it on your computer.
- Create a New Project Folder: Open Visual Studio Code and create a new folder for your project. This keeps your files organized.
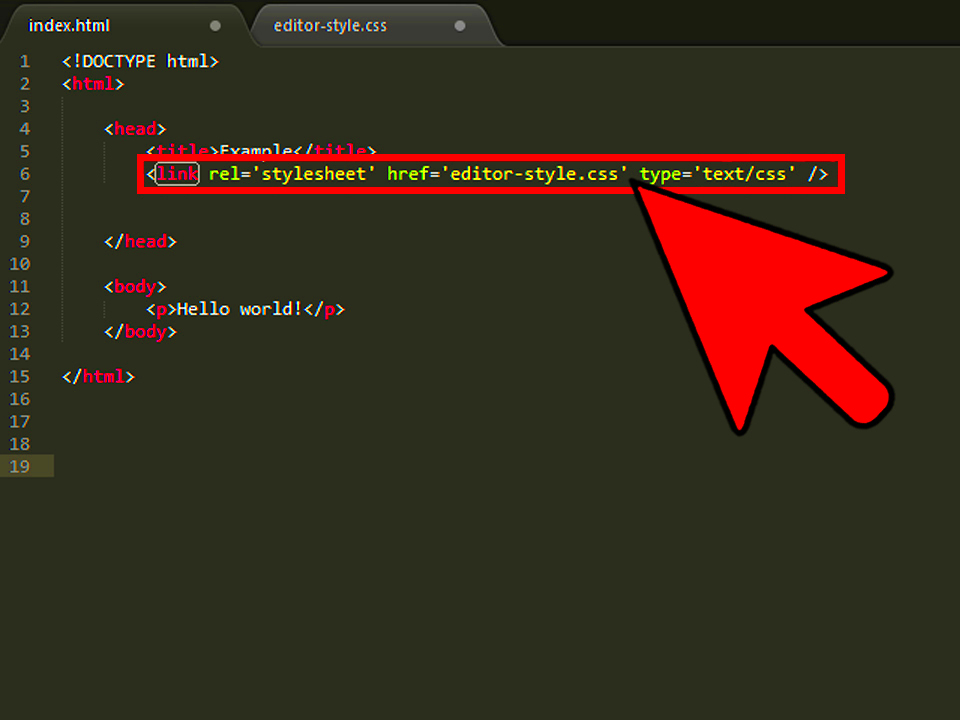
- Create Your HTML and CSS Files: Inside your project folder, create an HTML file (e.g., index.html) and a CSS file (e.g., styles.css).
- Open the Integrated Terminal: You can access the terminal by clicking on 'Terminal' in the top menu and selecting 'New Terminal'. This is useful for running commands.
- Live Server Extension: Consider installing the Live Server extension. This allows you to view changes in real-time as you edit your HTML and CSS files.
Once you've set up your workspace, it's time to start incorporating images into your CSS. It simplifies files management and decreases disarray if one has an organized project.
Also Read This: The Right Way to File Nails Round Square or Squoval Shapes
Understanding the Basics of CSS for Images

In order to add the images, it is important to firstly grasp some of the main principles regarding CSS and its relationship with pictures.
- CSS Selectors: These are used to select the elements you want to style. For images, you may target speci
Also Read This: How Unsplash Is Impacting Getty and iStock Photos
Adding an Image to Your CSS File
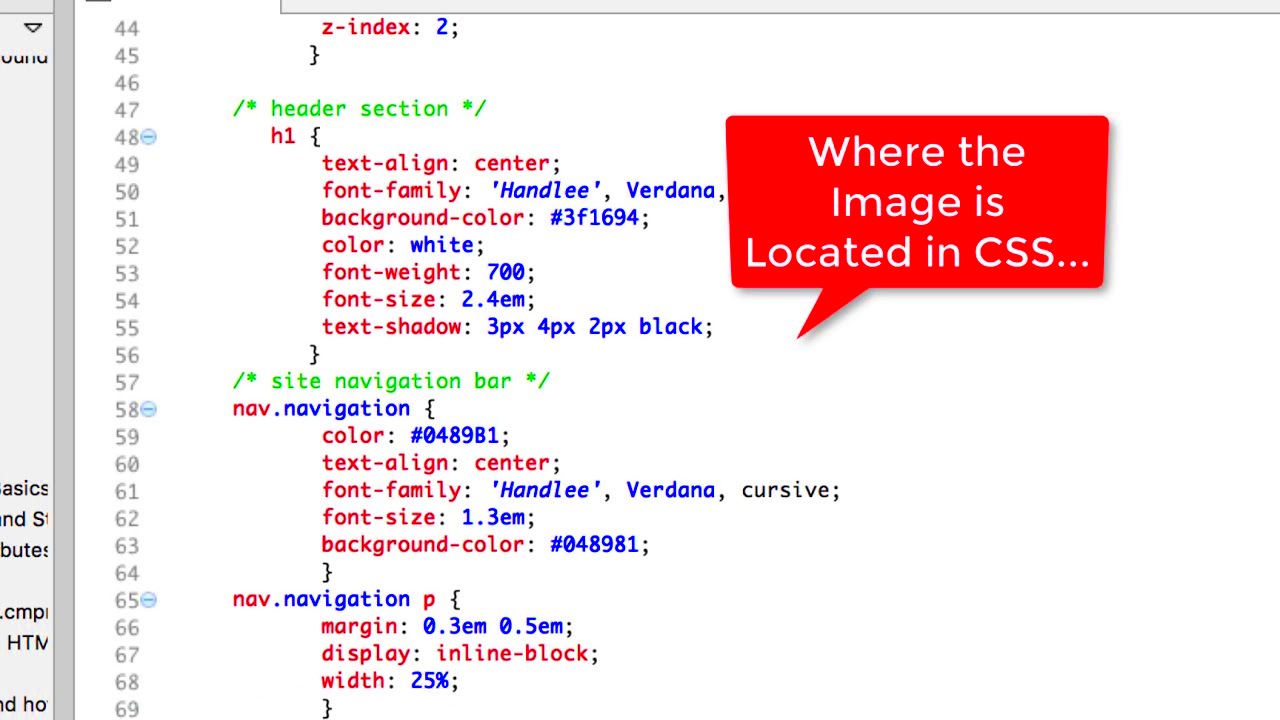
Adding an image to your CSS file is a straightforward process, but it can significantly enhance the visual aspect of your website. There are a few steps to ensure you do this correctly. First, ensure your image is saved in a location that your CSS file can access easily. Typically, you would place your images in a folder called 'images' within your project directory. Here’s how you can add an
- Locate Your CSS File: Open the CSS file you want to work with in Visual Studio Code.
- Use the background-image Property: Add the
background-imageproperty to your CSS rule. For example: - Set Other Background Properties: You can also add properties like
background-size,background-repeat, andbackground-positionto control how the image displays: - Save and Refresh: After you’ve added your code, save the CSS file and refresh your browser to see the changes.
body { background-image: url('images/background.jpg'); }body { background-image: url('images/background.jpg'); background-size: cover; /* Fills the container */ background-repeat: no-repeat; /* Prevents the image from repeating */ background-position: center; /* Centers the image */ }With these simple steps, you can easily incorporate images into your CSS. Don't hesitate to experiment with different images and styles to find what works best for your design!
Also Read This: How to Change the Color of an Image in Figma for Custom Designs
Using Relative and Absolute Paths for Images
When you add images in CSS, it's essential to understand the difference between relative and absolute paths. The path you choose affects how the browser locates the image files. Here’s a breakdown:
Path Type Description Example Relative Path Points to a file relative to the current location of the CSS file. This is useful for local files within your project. url('images/photo.jpg')Absolute Path Specifies the full URL to the image, which can be useful for images hosted on other servers. url('https://example.com/images/photo.jpg')Using relative paths is generally recommended for local projects as it keeps your files organized and easy to manage. However, if you're using images from the web, an absolute path is the way to go. Just remember to double-check the URLs to ensure they’re correct!
Also Read This: How to Vector an Image in Procreate
Styling Images with CSS Properties
Once you’ve added images to your CSS, styling them can make a world of difference in your design. CSS offers various properties to help you manipulate how images appear on your webpage. Here are some essential properties you might want to use:
- width and height: Control the size of your images.
- border: Add a border around your images with properties like
border-width,border-style, andborder-color. - border-radius: This pr
Also Read This: Learn How to Create a Free AI Portrait with This Simple Tool
Common Issues When Adding Images
Adding images to your CSS can sometimes lead to frustrating issues. Understanding these common problems can save you time and effort. Here are some frequent challenges you might face and how to fix them:
- Image Not Showing Up: This is often due to an incorrect file path. Double-check the path in your
url()to ensure it points to the right directory. For example, if your CSS file is in a folder called 'css' and your images are in 'images', your path should look likeurl('../images/photo.jpg'). - Broken Links: If the image file has been moved or deleted, it will not display. Make sure the image is in the correct location and that the filename is spelled correctly, including the file extension.
- Images Not Loading on Live Server: Sometimes, using a live server can cause issues with image loading. Try refreshing the server or checking if the image path is correct when viewing it live.
- Image Size Issues: Images may appear stretched or distorted. Always maintain the aspect ratio by using either
widthorheightproperties, not both, or setbackground-sizetocontainorcover. - Browser Caching Problems: Sometimes, your browser may cache old versions of your files. If changes don’t appear, try clearing your browser cache or doing a hard refresh (Ctrl + F5).
By knowing these common issues, you can troubleshoot effectively and get your images displaying as intended!
Also Read This: Customize Graphics from 123RF for Your Needs
FAQ About Adding Images in CSS
As you dive into adding images with CSS, you may have some questions. Here are answers to common queries:
- Can I use SVG images in CSS?
Yes, SVG images can be used just like other image formats. You can set them as background images or inline elements. - What’s the best format for web images?
JPEG is great for photographs, while PNG is ideal for images that need transparency. SVG is excellent for logos and icons due to its scalability. - How do I make images responsive?
Use the propertymax-width: 100%; this will ensure the image scales with its container without losing its aspect ratio. - Can I animate images using CSS?
Yes! You can use CSS animations or transitions to create effects like fading in or moving images. - Why does my background image repeat?
If your background image is repeating, you can prevent this by using thebackground-repeat: no-repeat;property in your CSS.
If you have more questions, don't hesitate to ask. The more you learn, the more confident you will become in using images in your web design!
Conclusion on Adding Images Using Visual Studio Code
In conclusion, adding images to your web designs using CSS in Visual Studio Code can greatly enhance the overall look and feel of your website. By understanding the various methods of incorporating images, the significance of file paths, and how to style them effectively, you can create visually appealing web pages that engage your audience. Here’s a quick recap of what we've covered:
- Setting up your Visual Studio Code project for optimal image management.
- Adding images to your CSS files and using the right paths.
- Styling your images with various CSS properties to achieve the desired look.
- Troubleshooting common issues that might arise during the process.
With practice, you’ll become proficient at incorporating images into your web projects. Don’t forget to keep experimenting with different styles and formats. The more you play around with your designs, the better they’ll become. Happy coding!
- Image Not Showing Up: This is often due to an incorrect file path. Double-check the path in your

 admin
admin


