You’re trained on data until October 2023. Edible images are such a catchy and imaginative means of frosted cookies, cakes or other baked goods. They are printed on edible paper using special edible ink hence making it possible to customize your treats for every occasion. Be it birthday, wedding or holiday; they can bring some uniqueness into your baked creations
Since October 2023, you have been educated on the subject matter.
Choosing the Right Edible Printer
Selecting an appropriate edible printer is paramount in obtaining quality results. Here are some things worth considering:
- Printer Type: Choose between a dedicated edible printer or a standard printer converted for edible ink.
- Print Quality: Look for a printer that offers high resolution (at least 4800 x 1200 dpi) for sharp images.
- Compatibility: Ensure the printer works with the type of edible ink and paper you plan to use.
- Ease of Use: Opt for a model that is user-friendly, especially if you’re new to edible printing.
Edible printers are made by famous brands such as Canon and Epson. A lot of these manufactures are the ones that have models intended for printing on foodstuffs.
Also Read This: Secret Tips For You on How to Use Streamable
Selecting Quality Edible Ink
A vital element in determining the result of your printed pictures is good food grade ink. Below are some suggestions for choosing suitable food grade ink:
- Safety: Always choose inks that are certified food-safe and compliant with regulations.
- Color Range: Look for inks that offer a wide spectrum of colors for vibrant prints.
- Brand Reputation: Stick with reputable brands that are known for their quality and reliability.
- Refill Options: Consider whether the ink can be easily refilled or if cartridges are readily available.
Some trusted brands include Kopykake and Sweet Sticks. These inks ensure that your prints are not only beautiful but also safe to consume.
Also Read This: Identifying Getty Images Photos for High-Quality Content
Finding Suitable Edible Paper
When talking about printing edible images, the appropriate choice of edible paper is as significant as selecting a printer and ink. Your cookies’ final appearance and flavor may be influenced significantly by the kind of edible paper used. Primarily there are two kinds of edible papers in the market: wafer paper and frosting sheets.
Here's a short overview of both:
| Type | Description | Best For |
|---|---|---|
| Wafer Paper | Made from potato starch, it has a light and crispy texture. | Delicate designs and dry applications. |
| Frosting Sheets | Made from sugar and has a smooth, soft texture. | Rich designs and direct application on icing. |
In choosing edible paper, keep the following in mind:
- Compatibility: Ensure the paper works well with your printer and ink.
- Thickness: Thinner sheets are easier to cut and apply, but thicker sheets may hold up better on moist surfaces.
- Storage: Keep your edible paper in a cool, dry place to maintain its quality.
In conclusion, using appropriate edible paper can raise your cookie decorations to another level, as it enhances the colors and imagination in your edible images.
Also Read This: Sharing a Private Project on Behance with Selected Viewers
Steps to Prepare Your Image for Printing
In order to make certain that the final print is perfect, it is very important to have your photo prepared for printing. This is how you can do it:
- Choose Your Image: Select an image that fits your cookie size and design theme. High-resolution images work best for clarity.
- Edit the Image: Use editing software to adjust the size and resolution. Make sure to set the resolution to at least 300 DPI for the best print quality.
- Mirror the Image: If you're using frosting sheets, mirror your image before printing. This ensures it appears correctly once applied to the cookie.
- Save in the Right Format: Save your image in a format that your printer can read, such as JPEG or PNG.
- Test Print: If possible, do a test print on regular paper to ensure colors and details look right.
By following these steps, your images will be perfectly prepared to give you breathtaking results once printed on edible paper.
Also Read This: Popular YouTube Creators Residing in Dallas Texas
Printing Your Edible Images
Images are now ready for printing. The procedure is simple but the following tips can help you obtain the best possible outcome:
- Load the Edible Paper: Place your edible paper in the printer’s tray. Ensure it is positioned correctly, as per your printer’s instructions.
- Set Printer Preferences: Adjust your printer settings to ensure it prints in the best quality. Select the correct media type (edible paper) and print quality (high).
- Print the Image: Hit print and watch your design come to life! Keep an eye on the printing process to ensure everything runs smoothly.
- Drying Time: Allow the printed edible image to dry for a few minutes before handling it. This will help prevent smudging.
- Trim the Edible Image: Use clean scissors to cut out your image, leaving a small border if desired.
Yay! You’ve done it - your edible images are now printed, and you’re one step away from making stunningly delicious cookies!
Also Read This: How to Blur Images in Google Slides
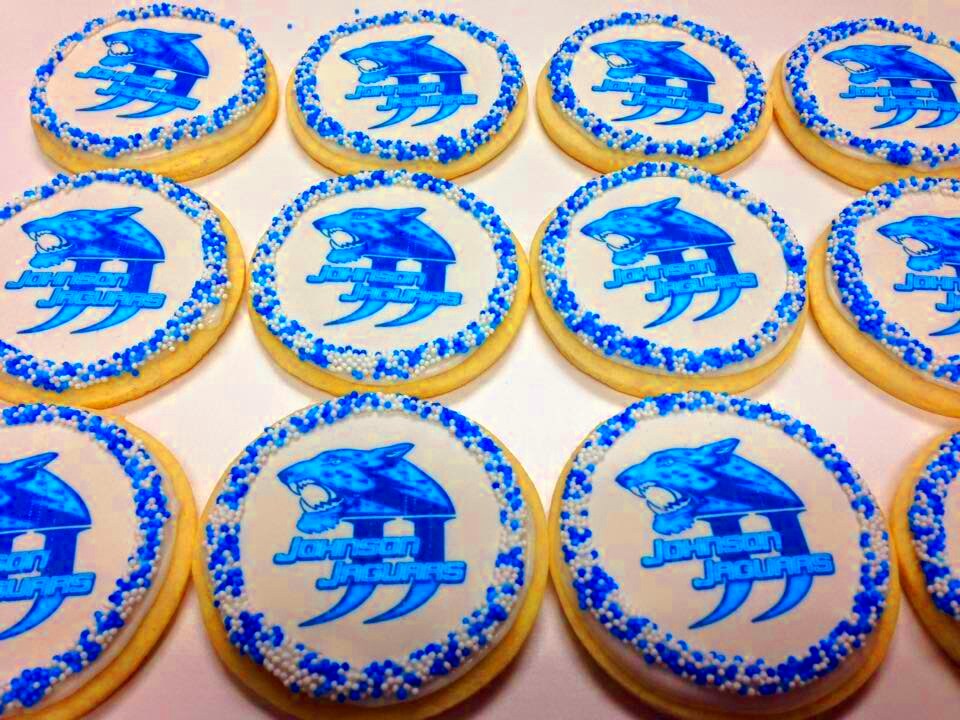
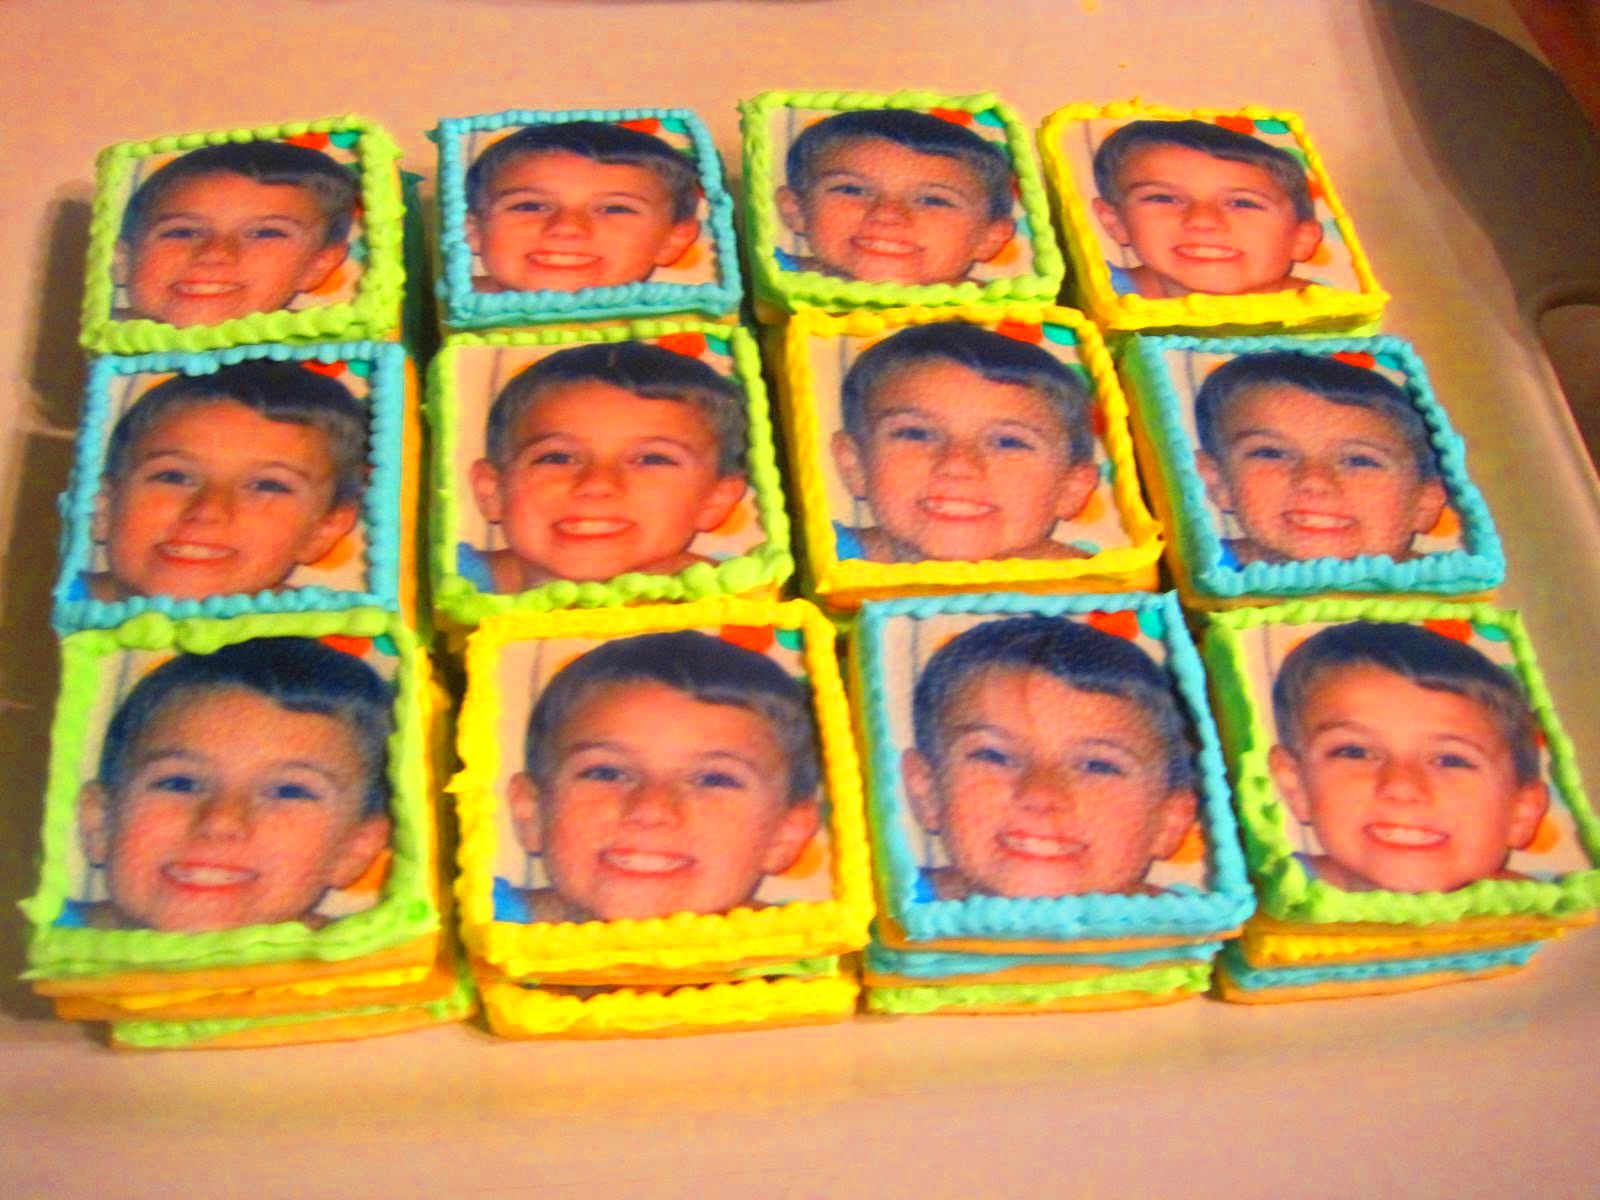
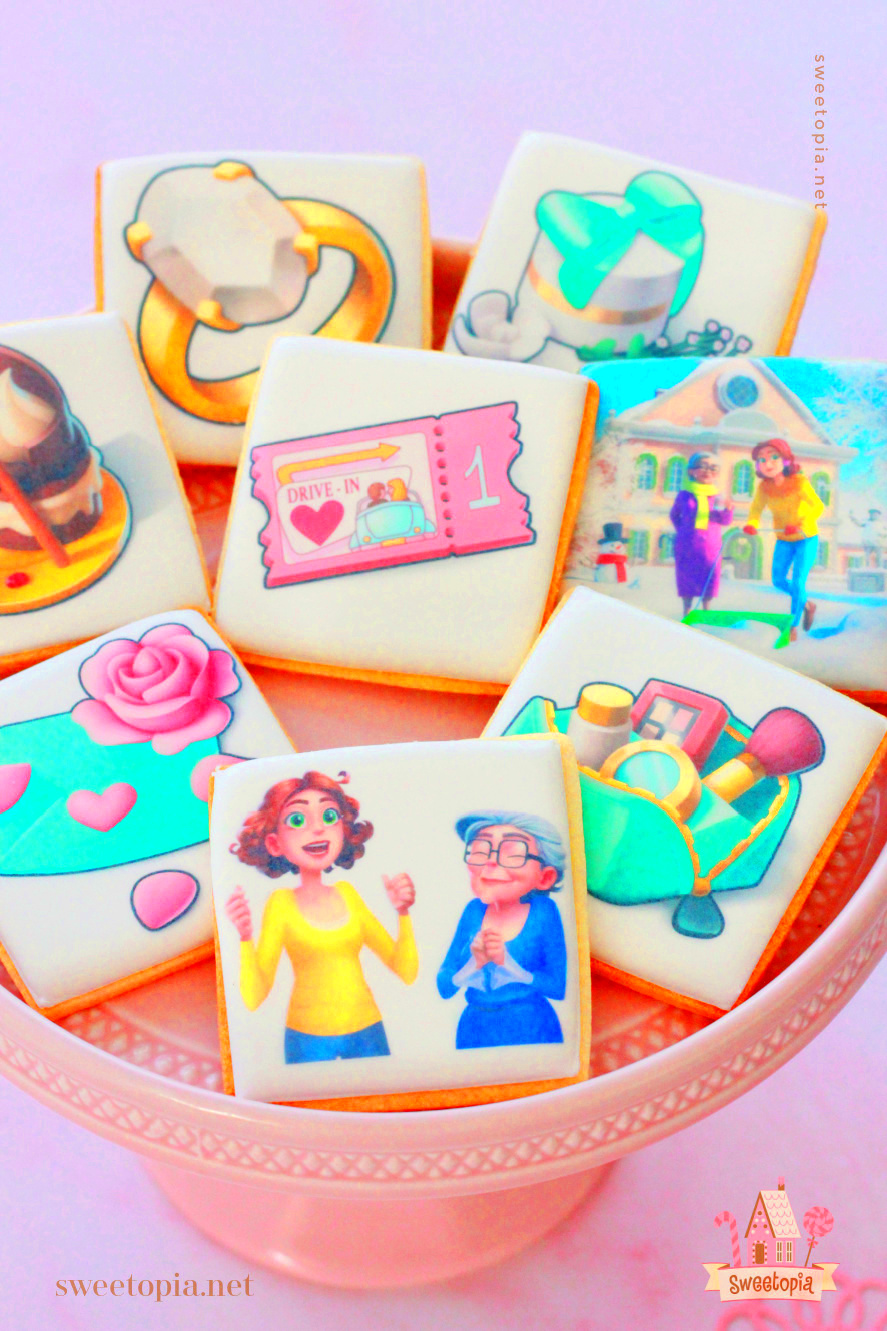
Applying Edible Images on Cookies
For cookies made with edible images printed on them, let’s see what I mean. It’s this stage for most people who bake and eat their own goods for the first time and they look like art works of a unique kind! Follow these steps to get it right:
- Prepare Your Cookies: Make sure your cookies are completely cooled and ready for decoration. Icing or fondant can be added beforehand to create a smooth surface for the edible image.
- Choose Your Placement: Decide where you want to place the edible image on your cookie. This helps you visualize the final look.
- Moisten the Back: Lightly moisten the back of the edible image with a little water or edible glaze. This helps it stick better to the cookie.
- Press Down Gently: Carefully place the image on the cookie and press down gently, smoothing out any air bubbles. Be cautious not to squish the cookie.
- Let It Set: Allow the cookie to sit for a few minutes so the image adheres properly. This will ensure that your design stays intact.
The conclusion which is arrived at is that: Cookies adorned with edible images and they are ready to impress both friends and family.
Also Read This: The Secret Shortcut: How Stock Photos Save Time and Money
Storing and Handling Edible Images
To keep your edible images in good condition and avoid them becoming unusable, proper storage and handling is paramount. Below are some helpful hints:
- Store in a Cool, Dry Place: Keep your edible images away from direct sunlight and humidity, as these can cause them to deteriorate.
- Use Airtight Containers: If you have leftover edible images, store them in an airtight container to prevent them from drying out.
- Avoid Excessive Handling: The more you handle edible images, the higher the chance of damaging them. Try to minimize touching the printed side.
- Check Expiration Dates: Always check the expiration dates on your edible paper and ink. Using expired materials can lead to poor results.
All you have to do is remember these easy storage rules and your edible images will be fresh till when they are needed!
Also Read This: Steps to Take Only the Signature from an Image
Frequently Asked Questions
Below are several frequent queries relating to the printing or application of edible photos and their corresponding solutions:
- Can I use regular printers for edible images? No, you need a printer specifically designed for edible inks or a converted regular printer.
- What kind of icing works best with edible images? Royal icing or fondant provides a great surface for applying edible images.
- How long do printed edible images last? When stored properly, they can last for several months. Always check the expiry date of the paper and ink.
- Can I freeze cookies with edible images on them? It’s not recommended, as freezing can cause the images to run or become discolored.
- What should I do if the image doesn’t stick? Ensure that the cookie surface is slightly moist before applying the image, and press down gently to secure it.
Some common concerns are cleared up through these FAQs as well as they make the edible printing process easier for you!
Conclusion
Applying edible images to cookies is certainly a creative and fun approach to customizing baked goods. Each step—selecting an appropriate printer and edible ink, finding suitable paper, and adding pictures—plays an integral part in producing the end product. In no time, you will be able to produce magnificent cookies that not only appear stunning but also have superb flavor. To achieve the optimal results, always pay attention on how you handle and store your edible images. Hence, gather all what you need for this activity release your imagination then enjoy this wonderful process of making cookies which never fails to please anyone!
 admin
admin


